前情提要
想著調查一些 LLM 應用程式的 RAG 功能,關於調查的方向跟基準請見前一篇文章,不在此贅述:
同系列其他調查文:
OCI 構成
$ podman image tree docker.io/lobehub/lobehub:2.1.42
Image ID: 1c259d431d4d
Tags:     [docker.io/lobehub/lobehub:2.1.42]
Size:     1.226GB
Image Layers
└── ID: 0b7e8296904c Size: 1.226GB Top Layer of: [docker.io/lobehub/lobehub:2.1.42]
總計 1.226GB,一層 1.226GB,....What?
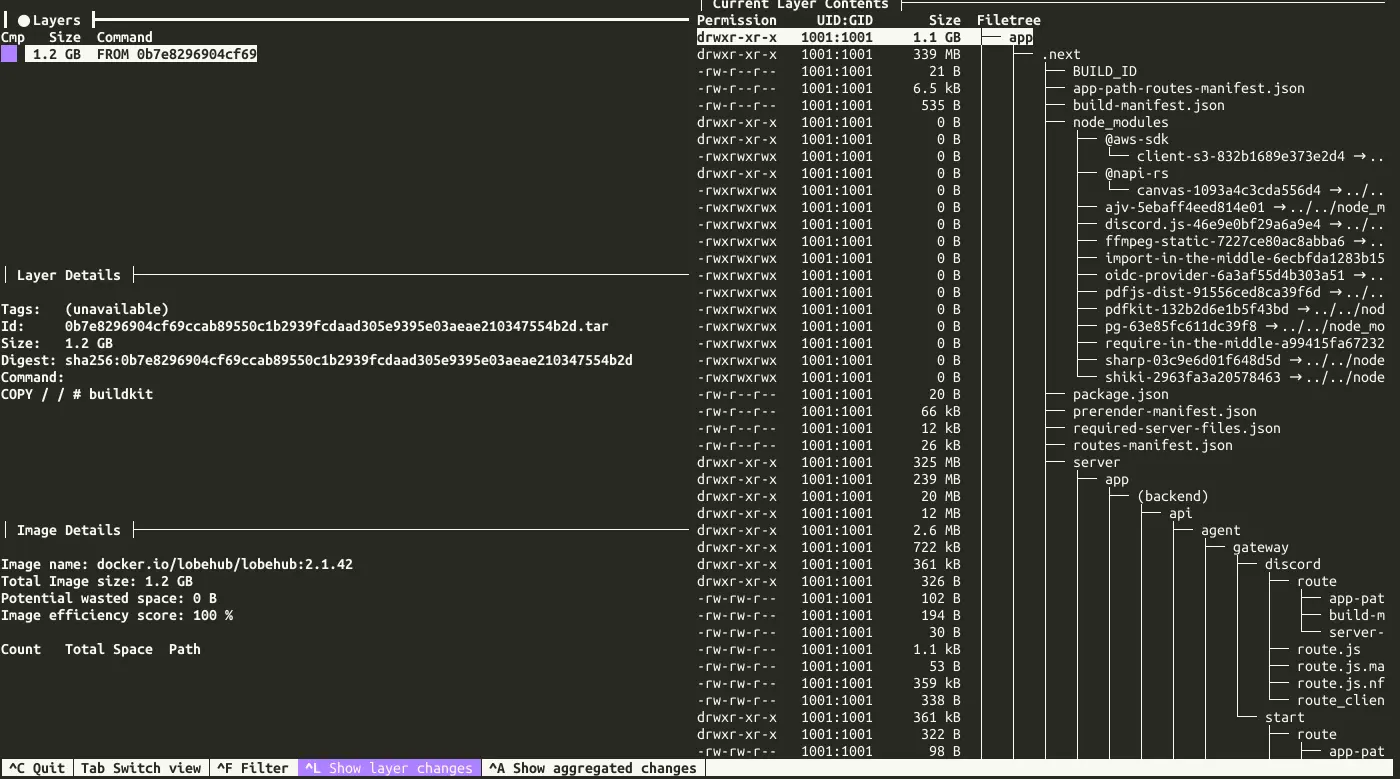
看起來是 Next.js 的傑作。
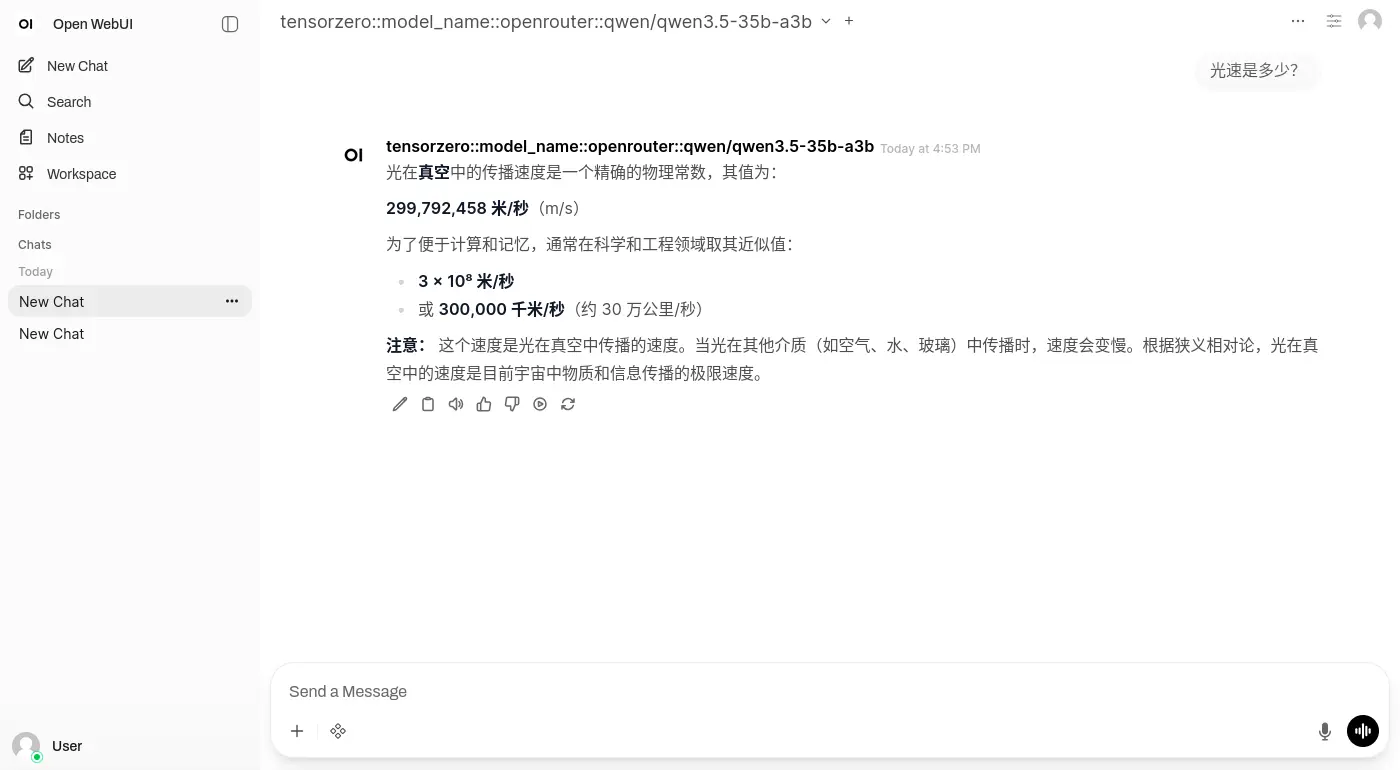
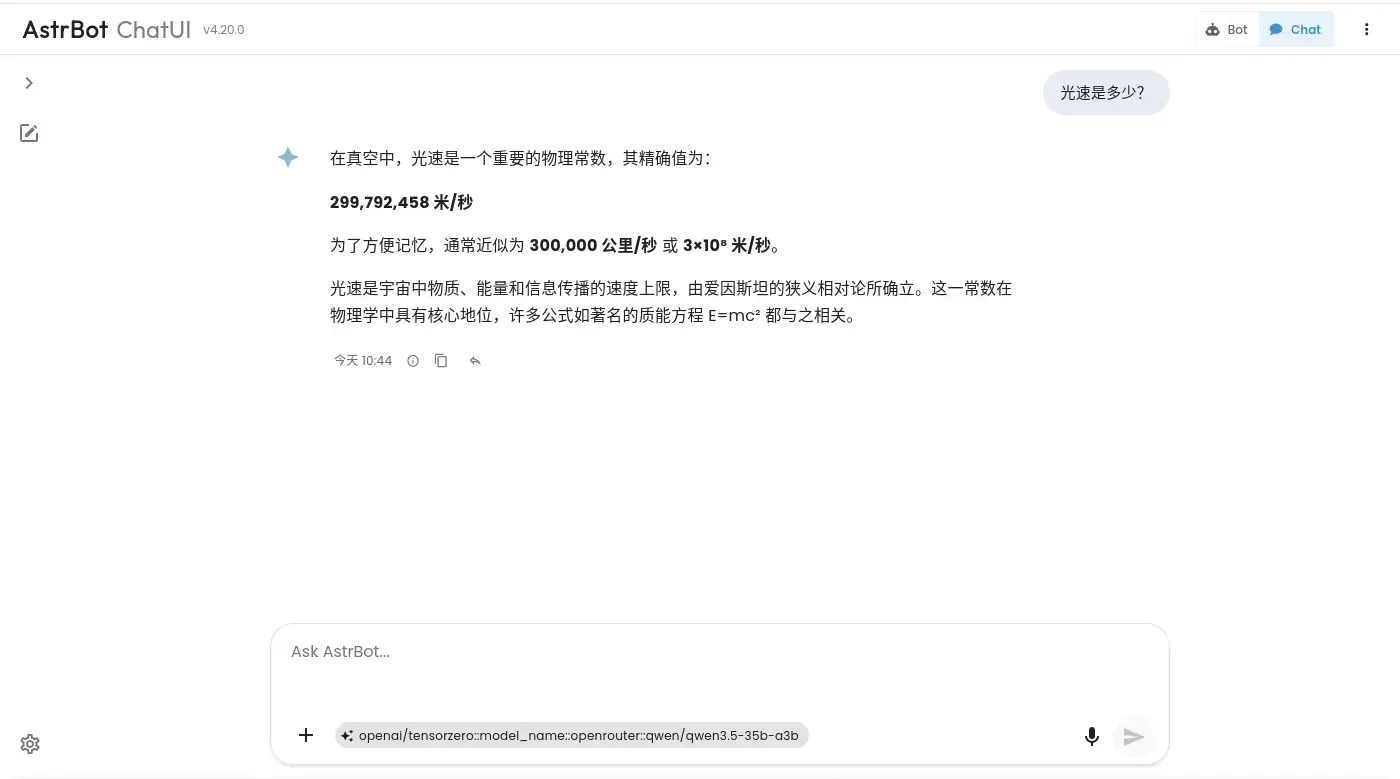
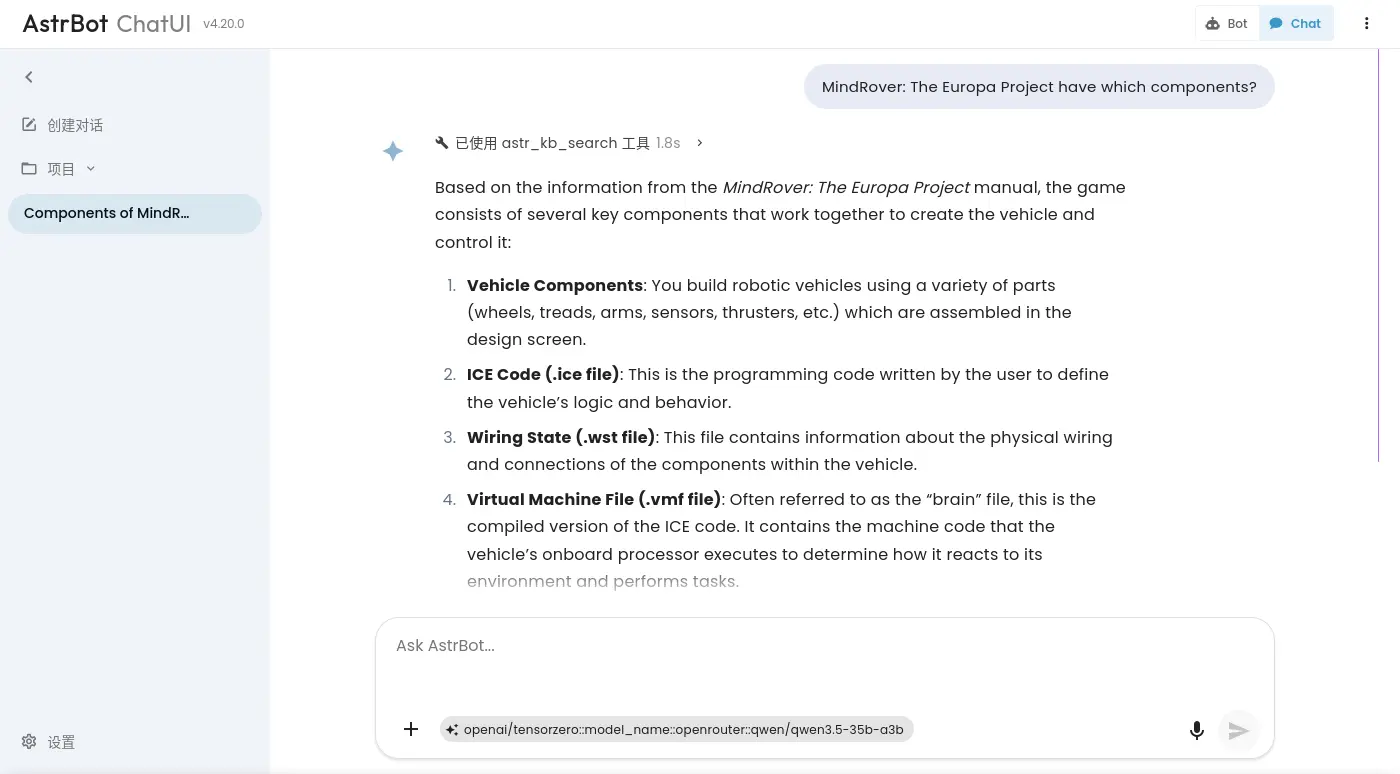
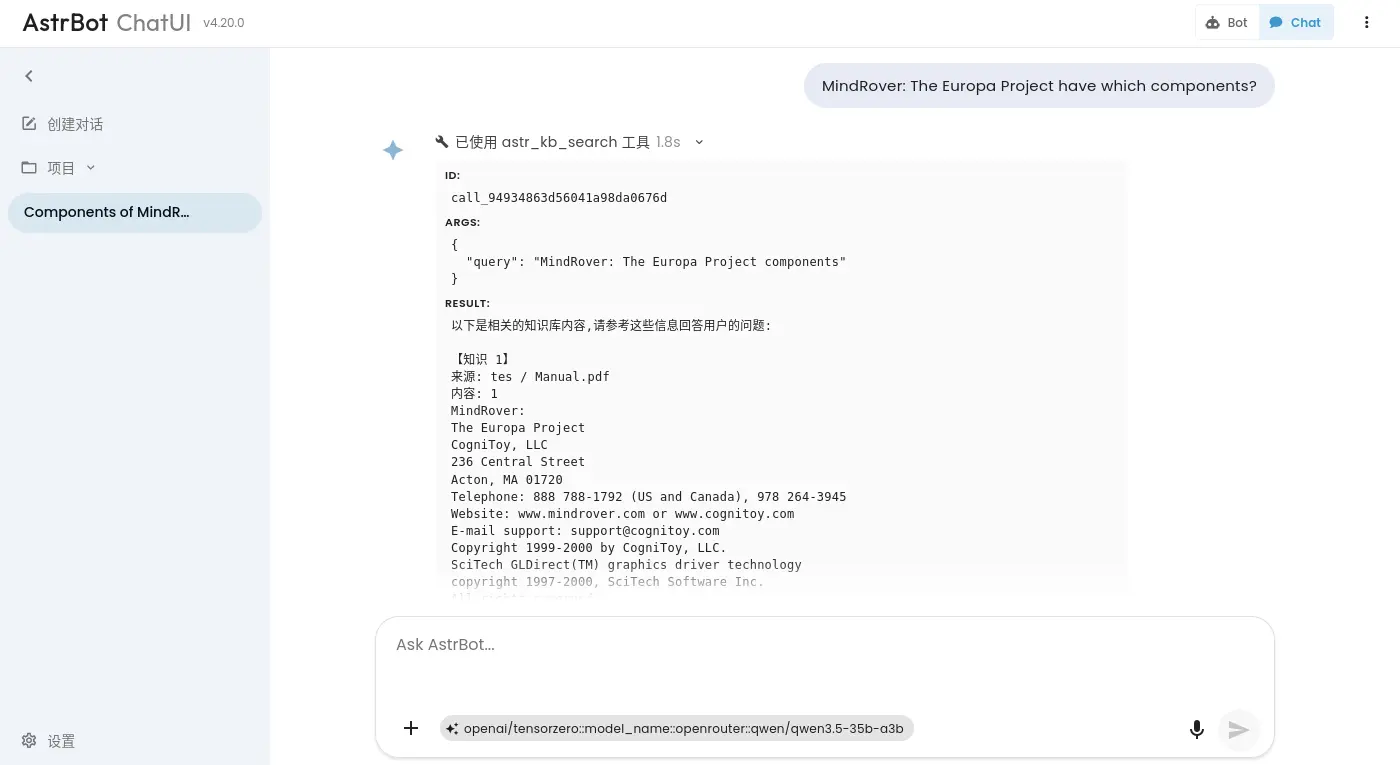
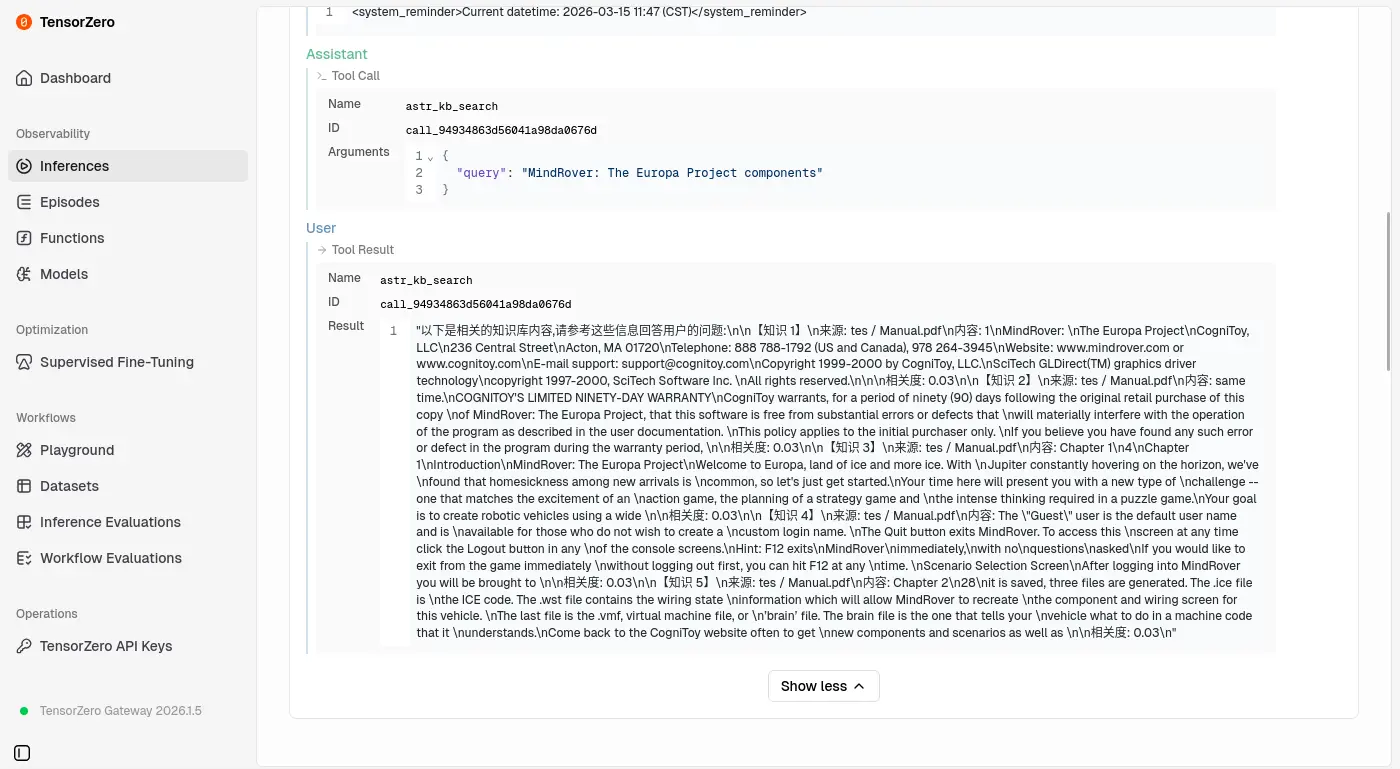
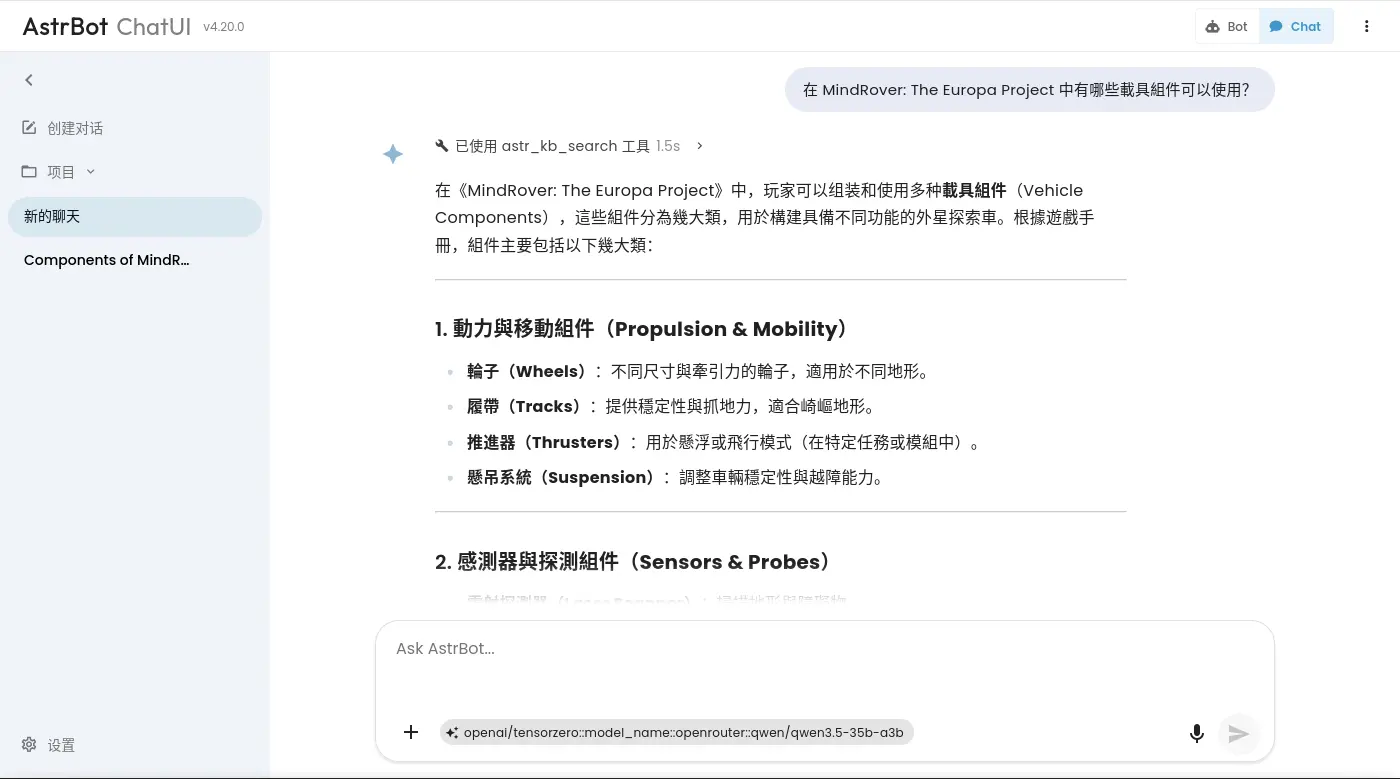
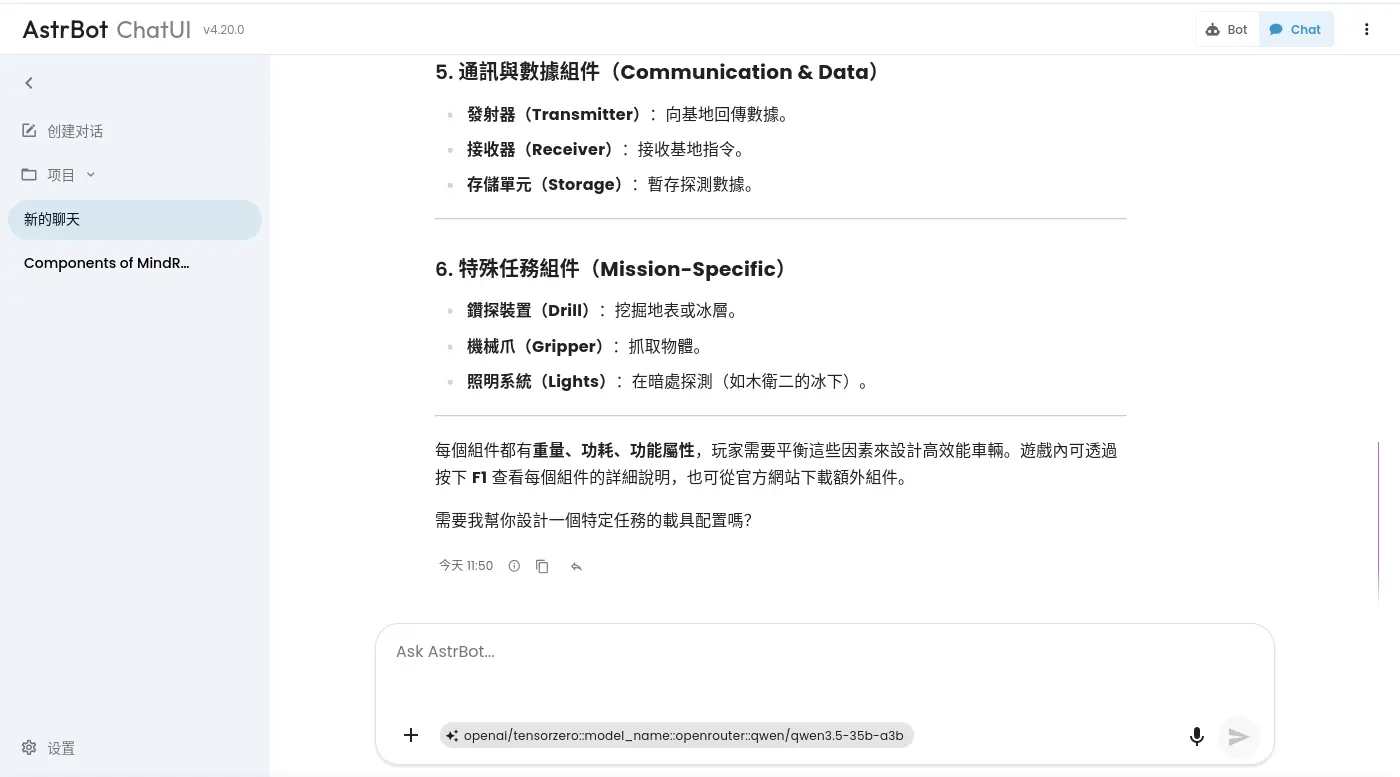
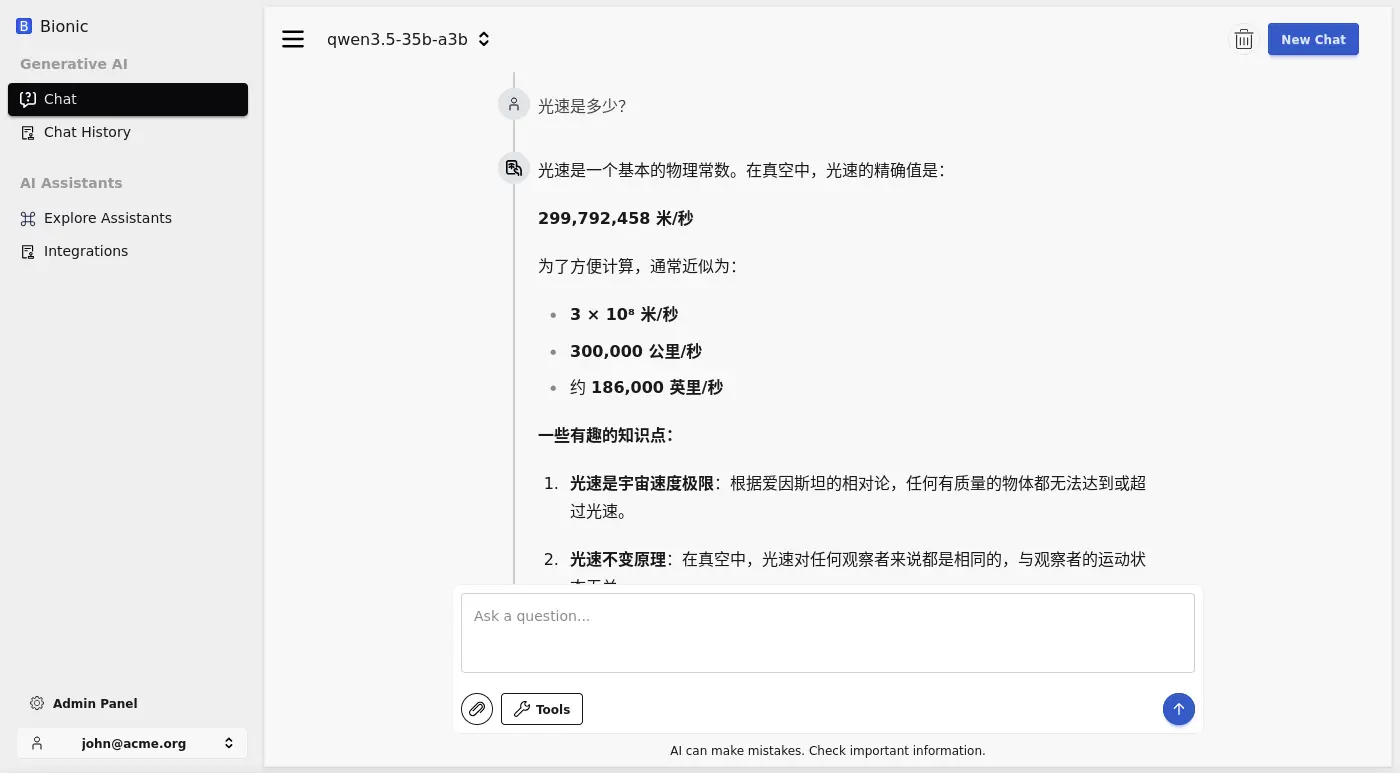
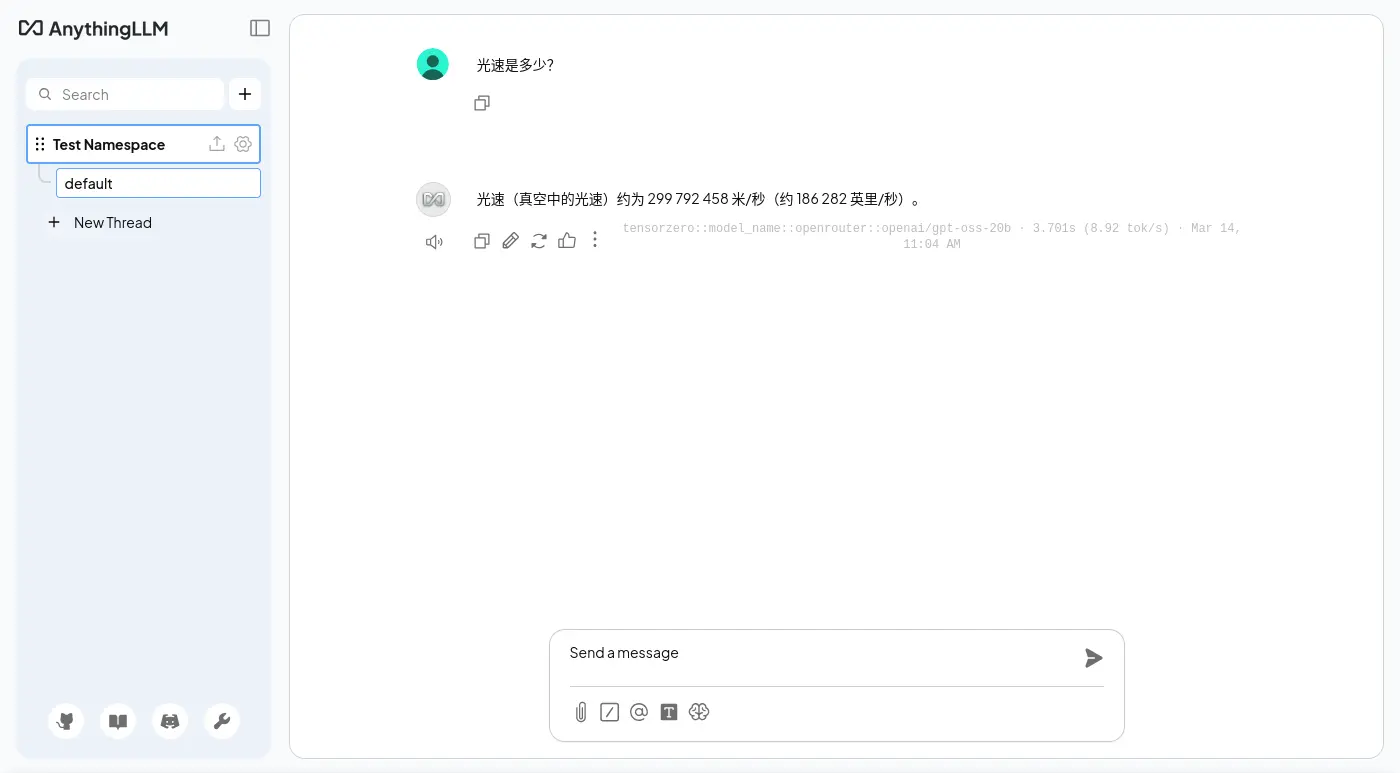
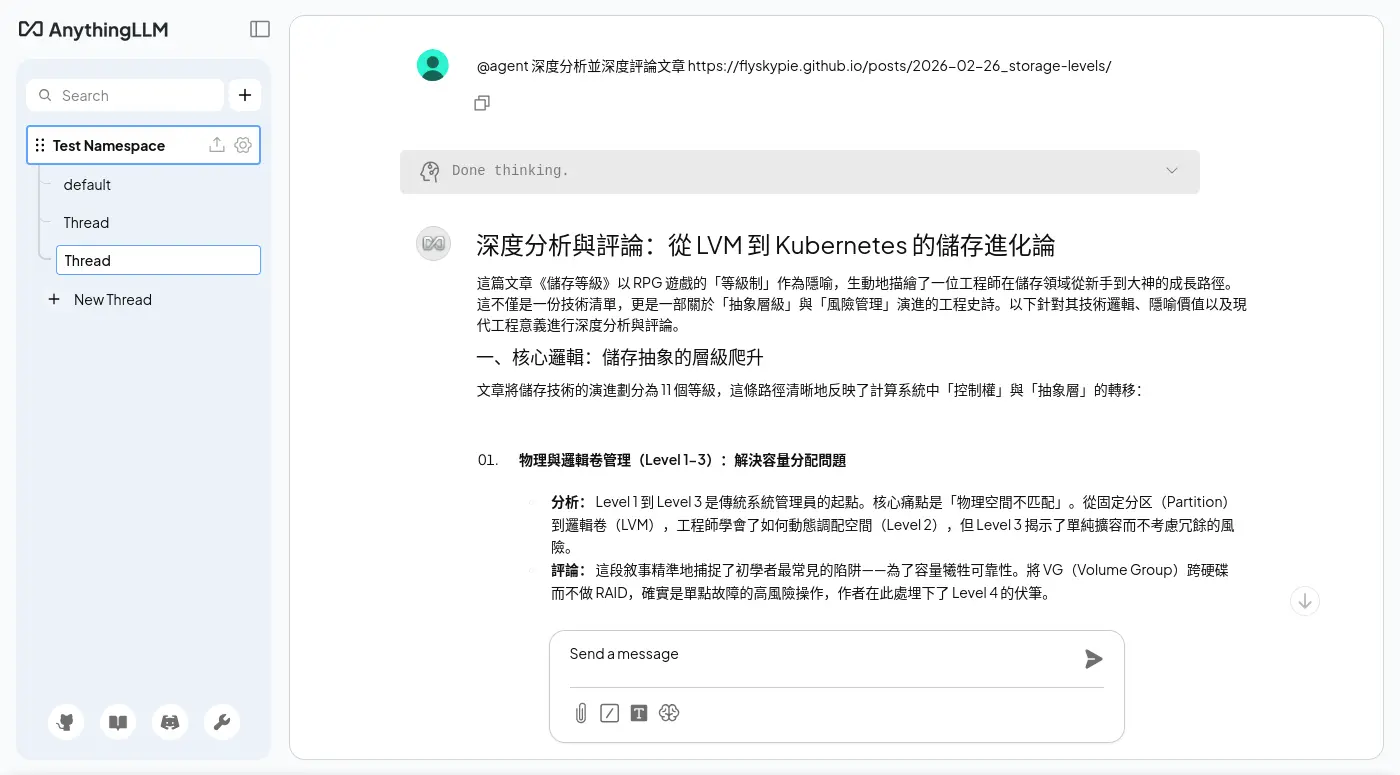
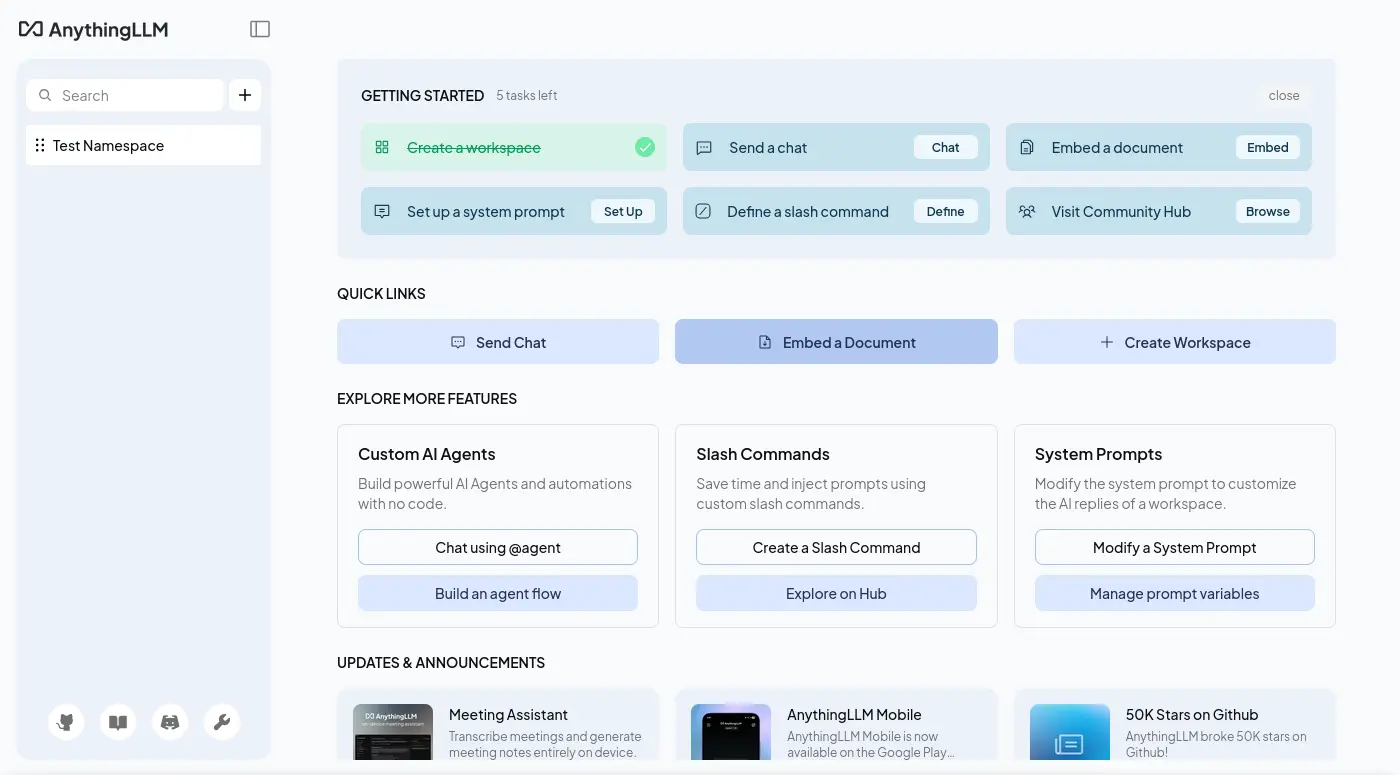
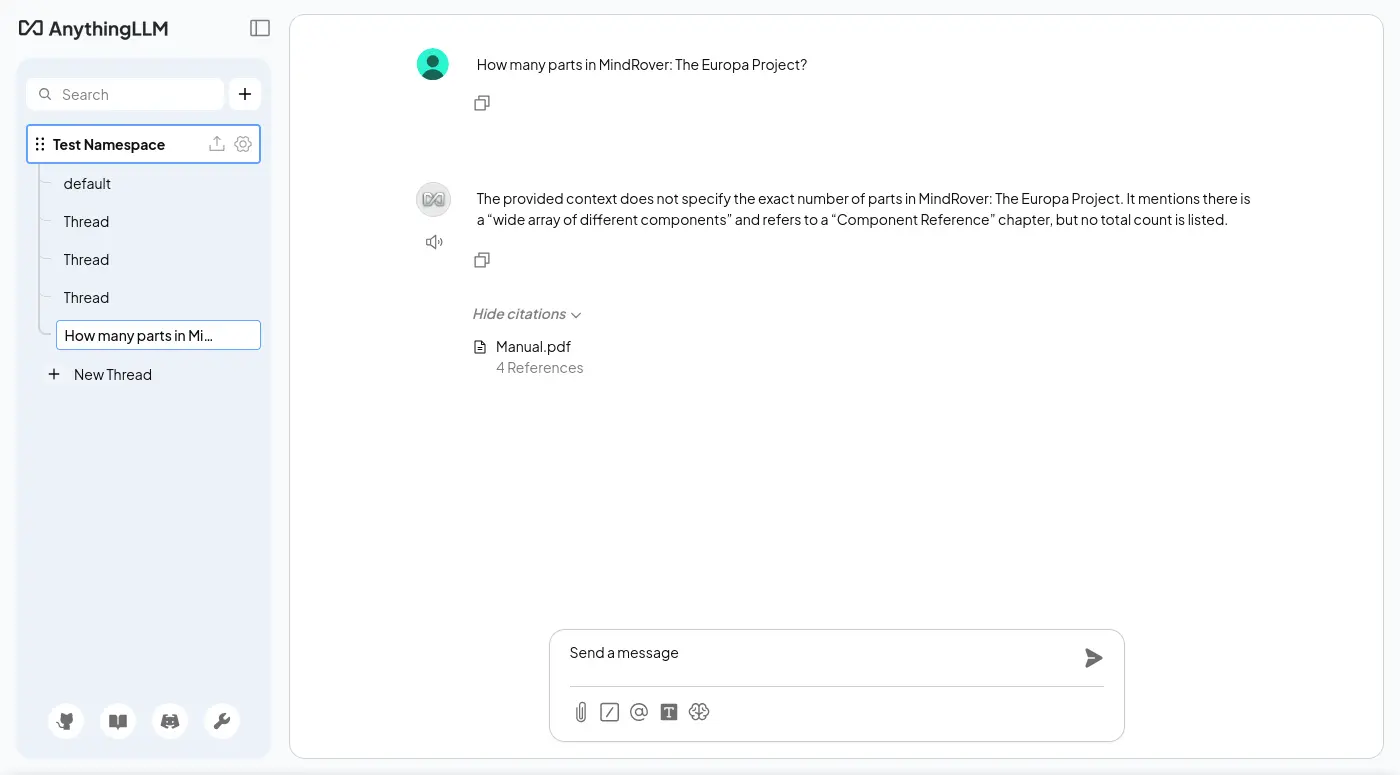
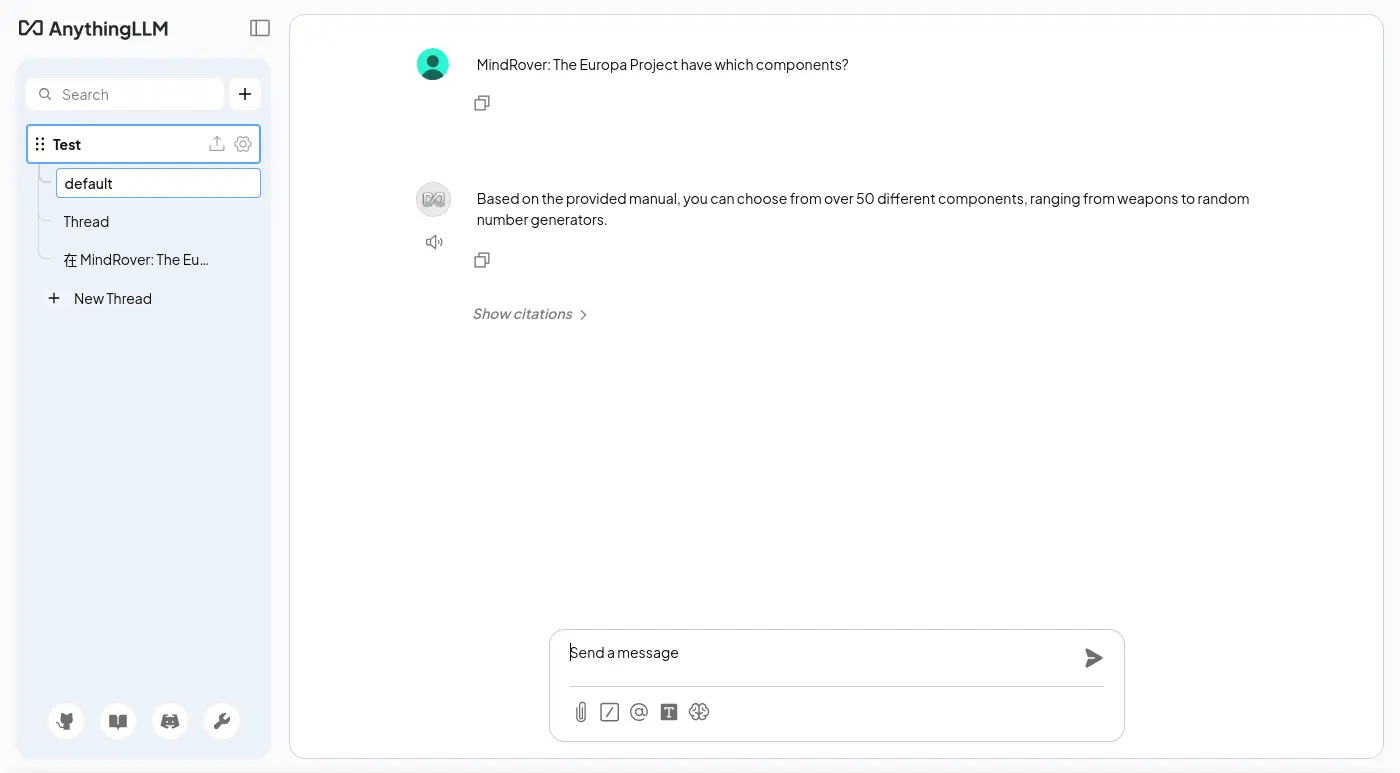
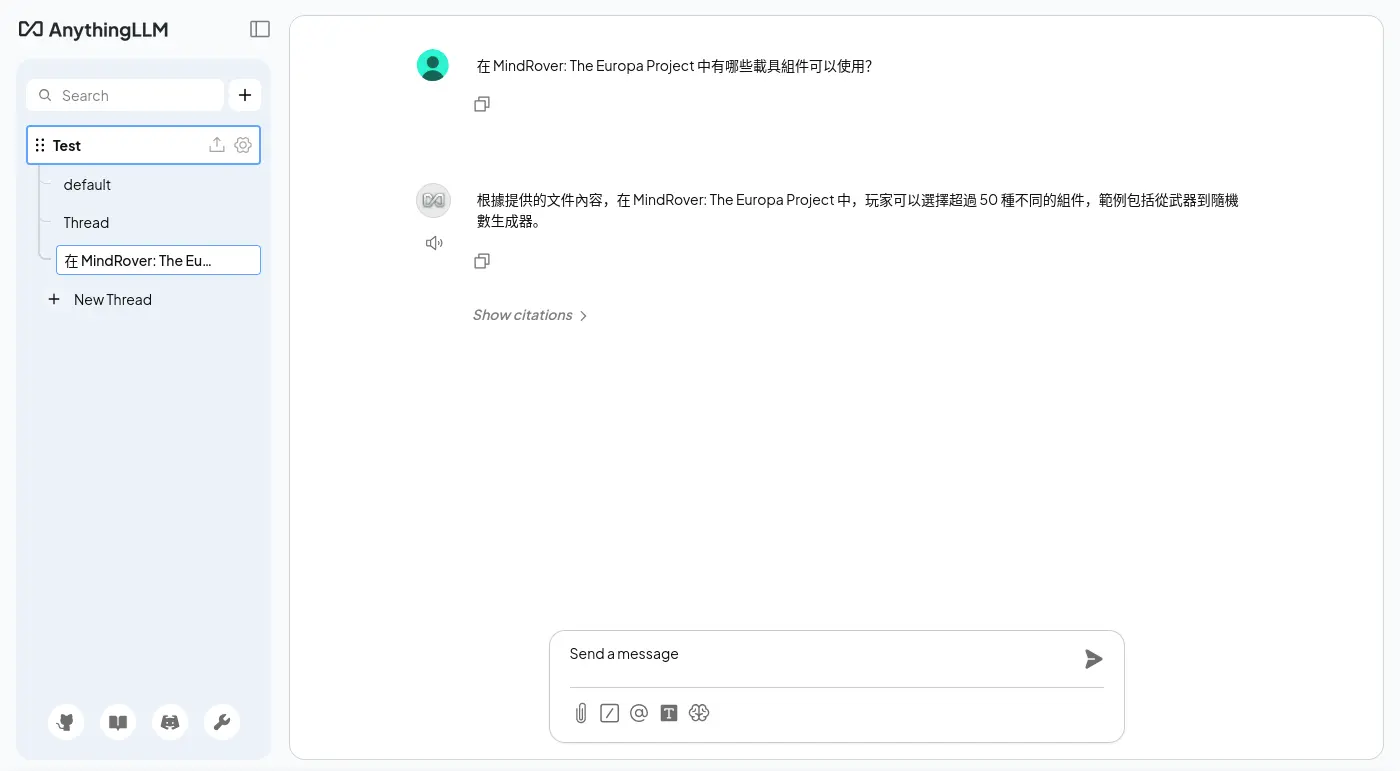
簡單對話
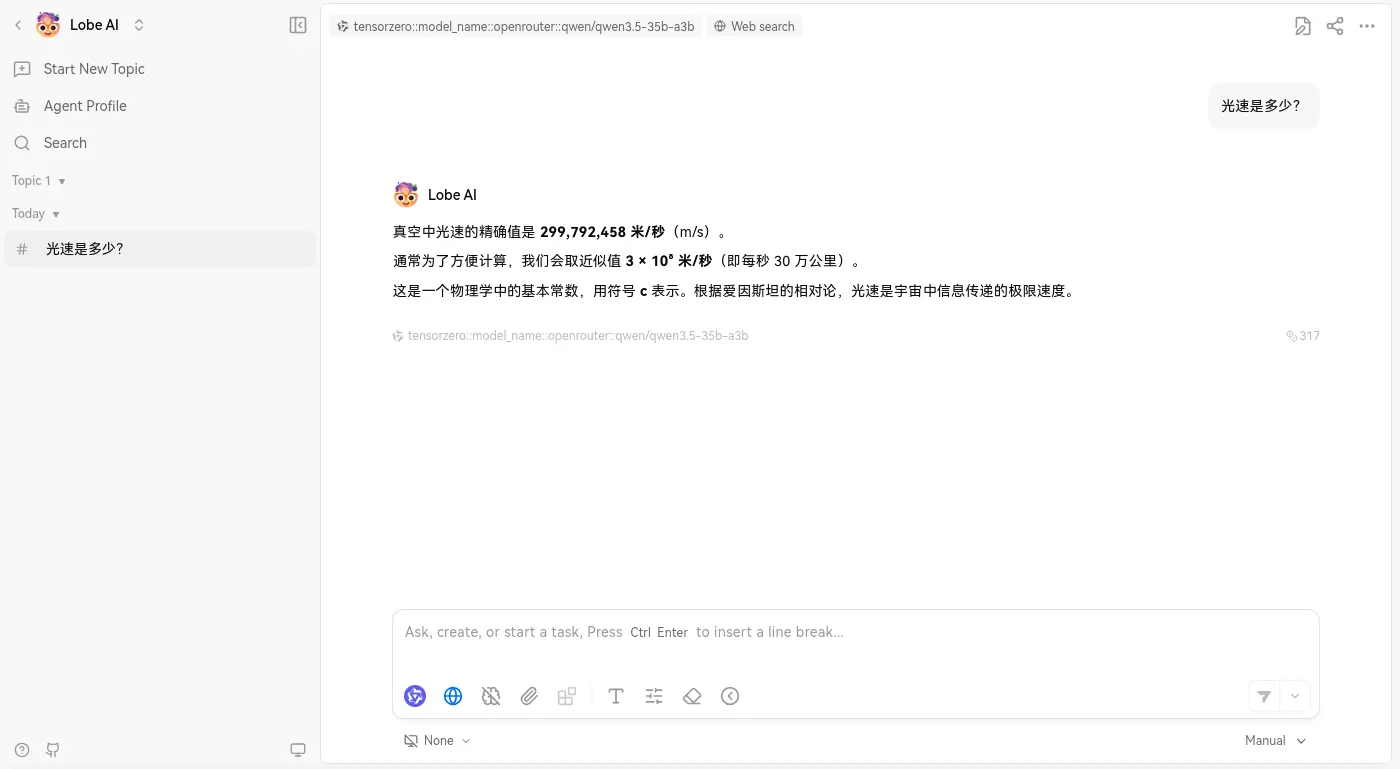
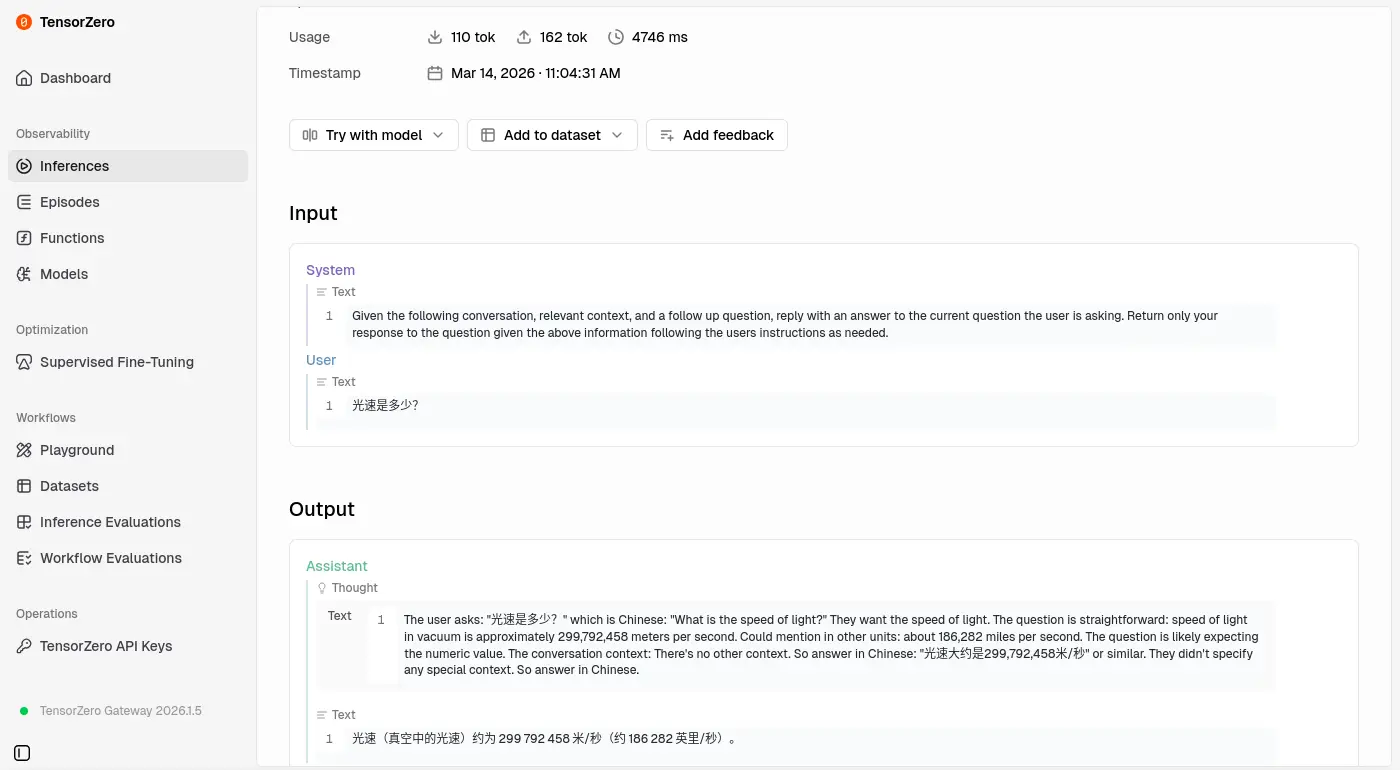
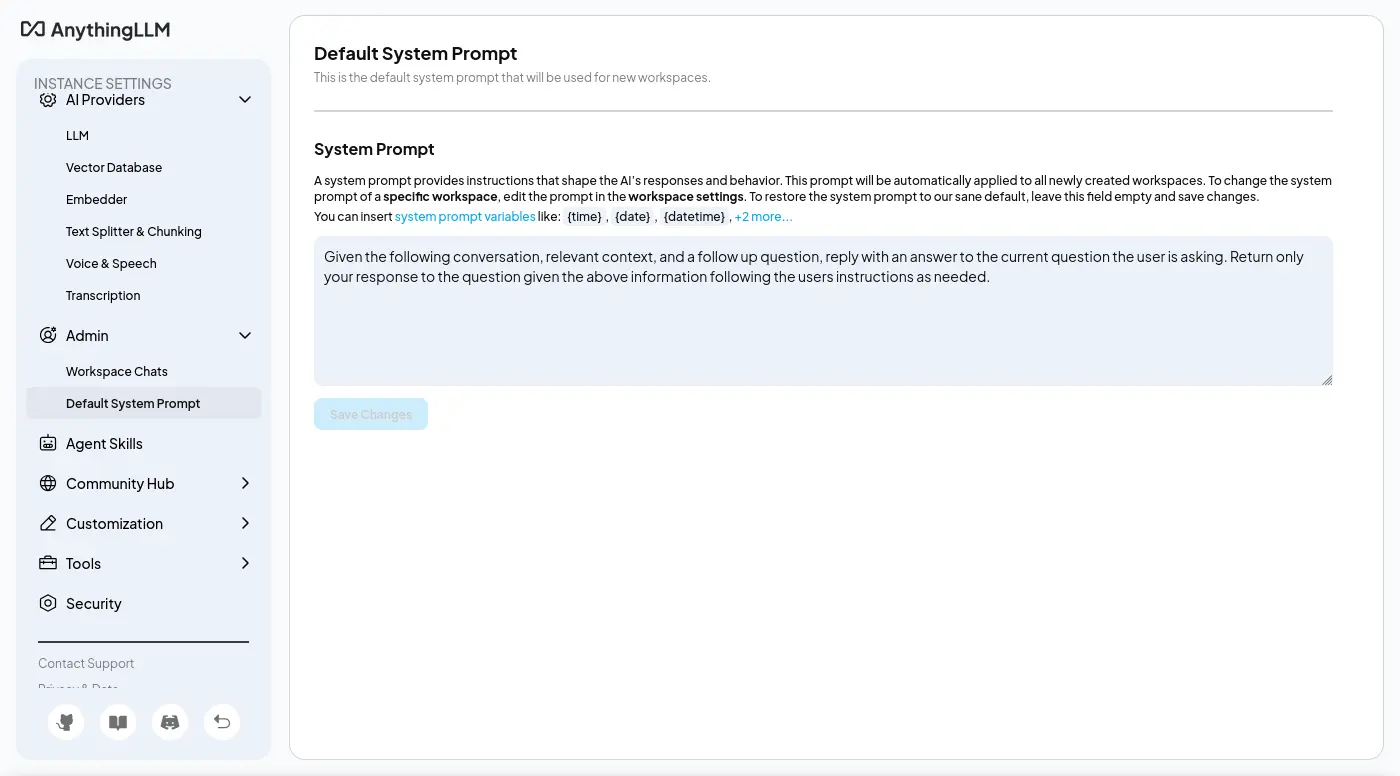
系統提示詞:

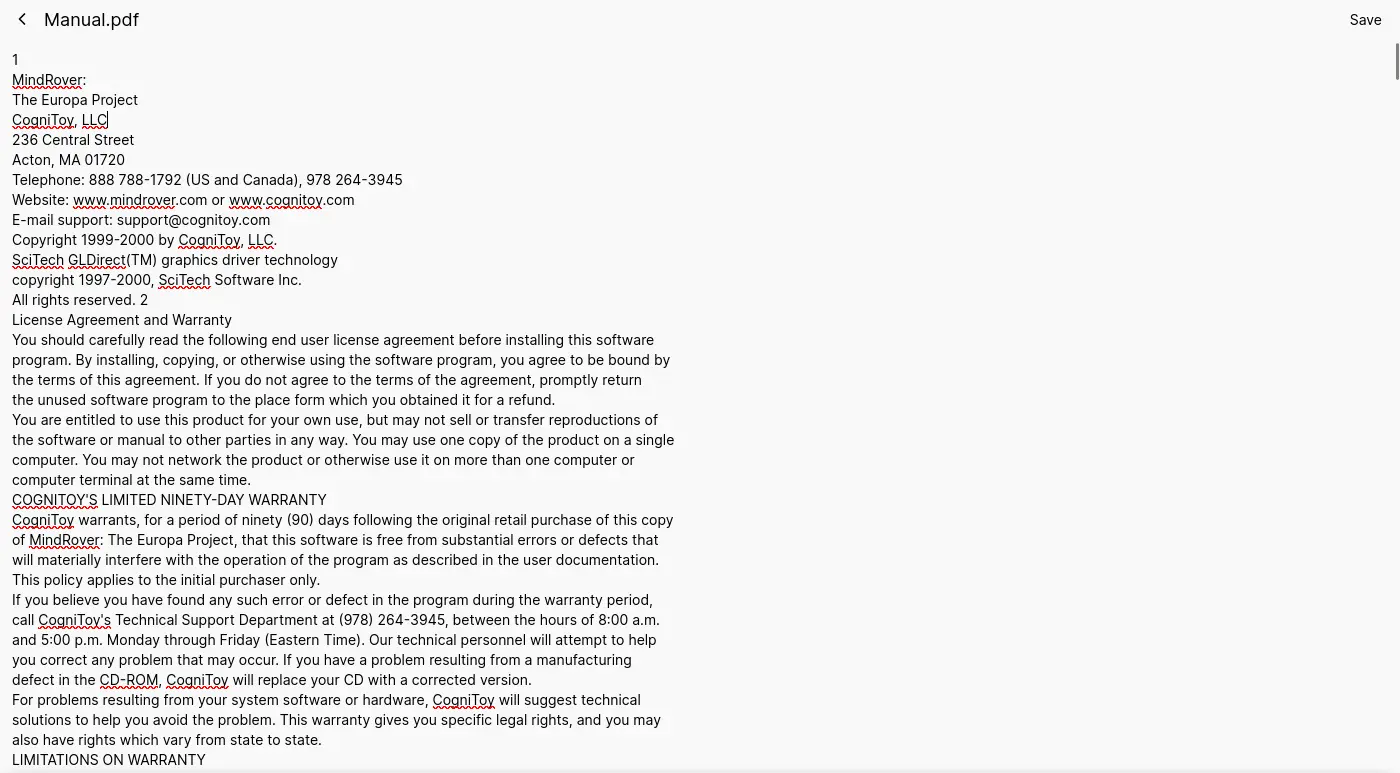
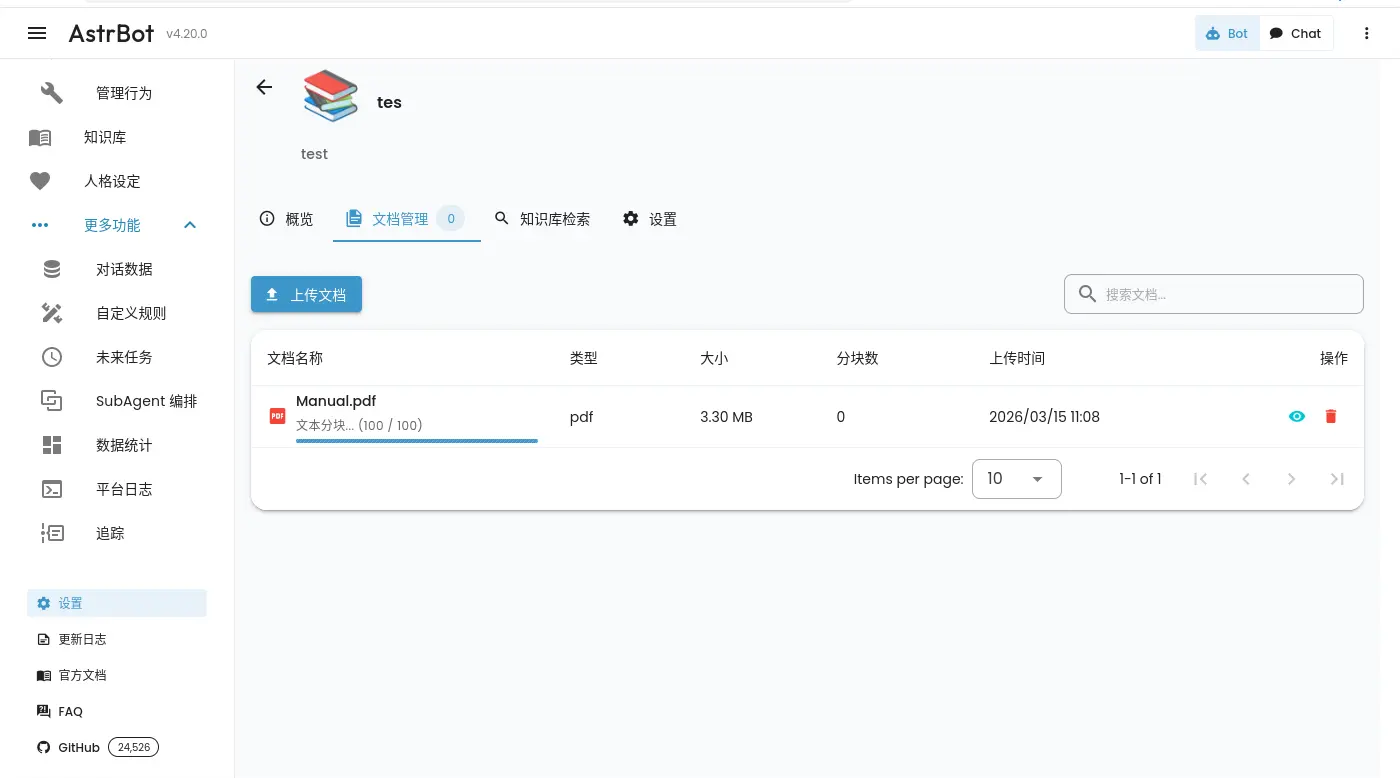
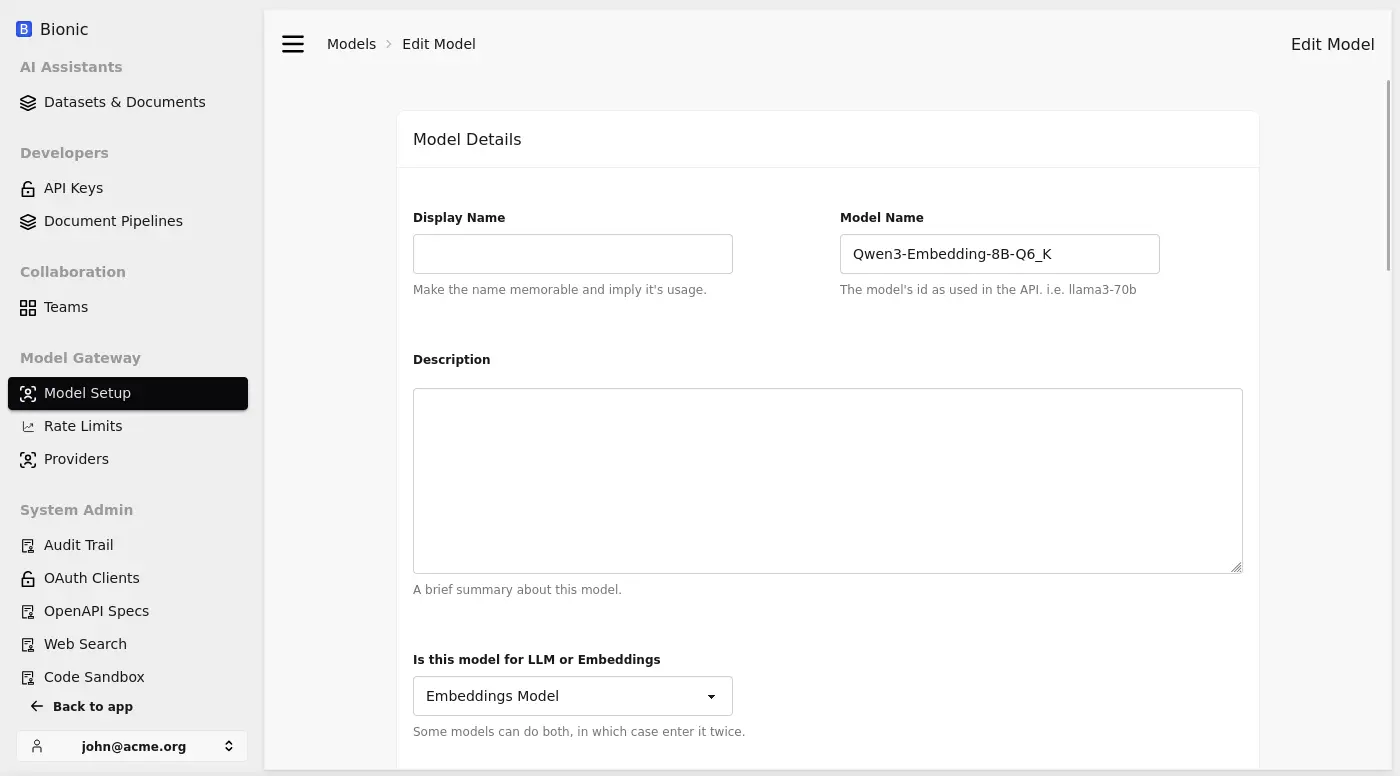
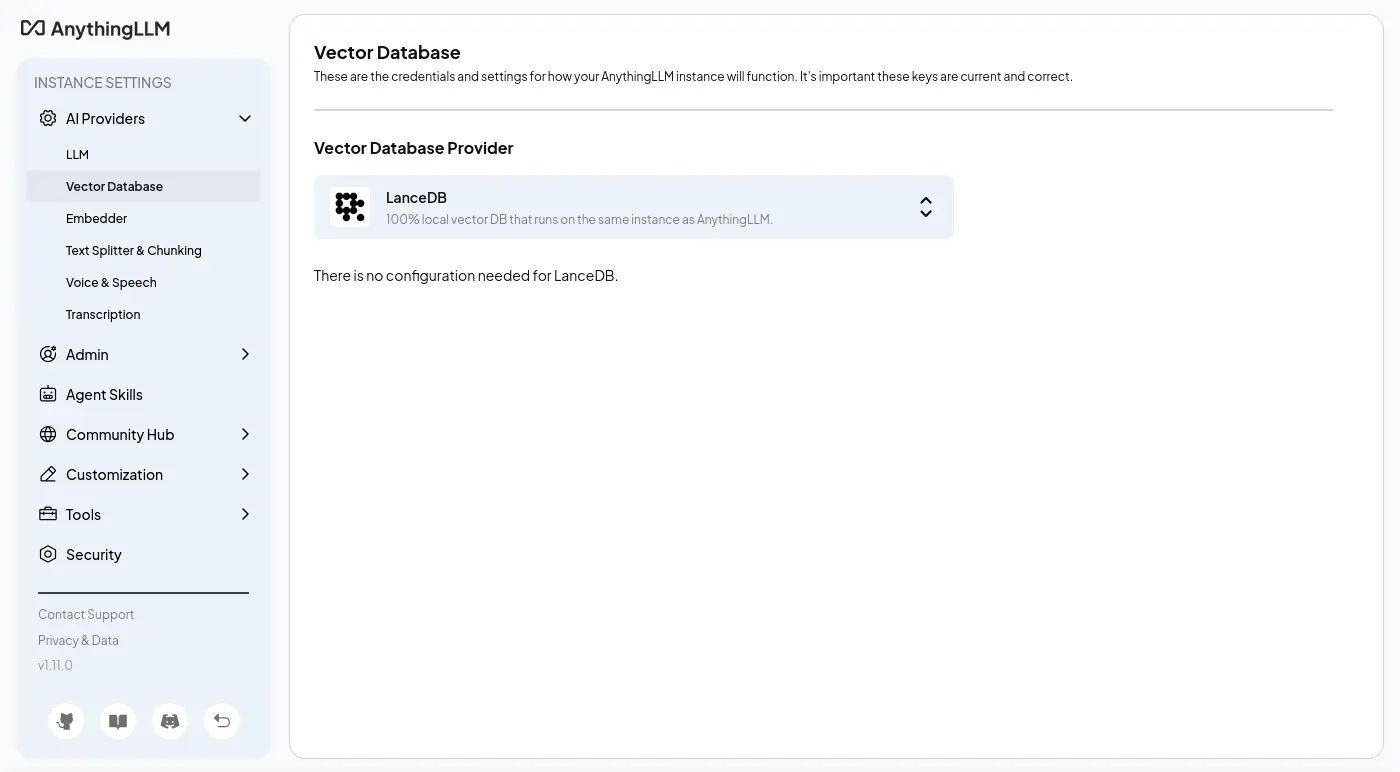
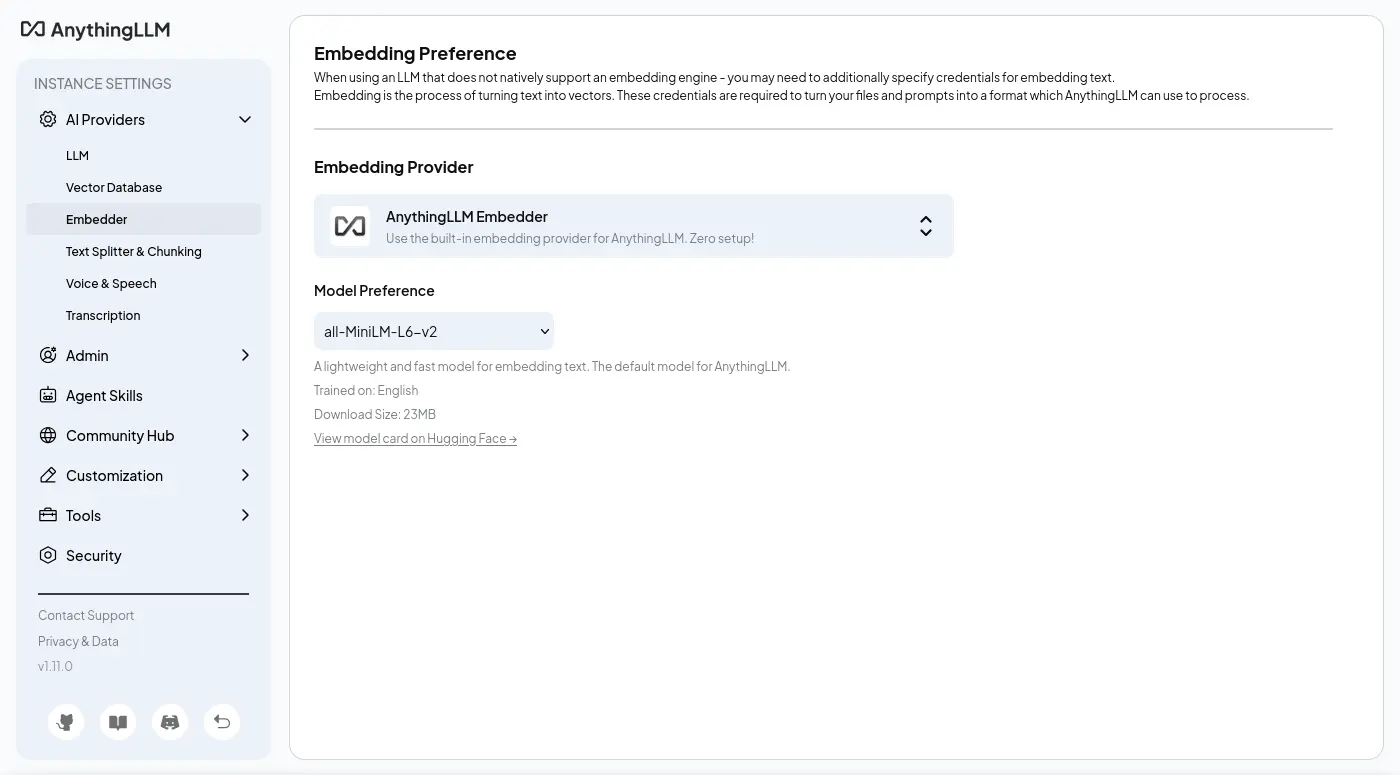
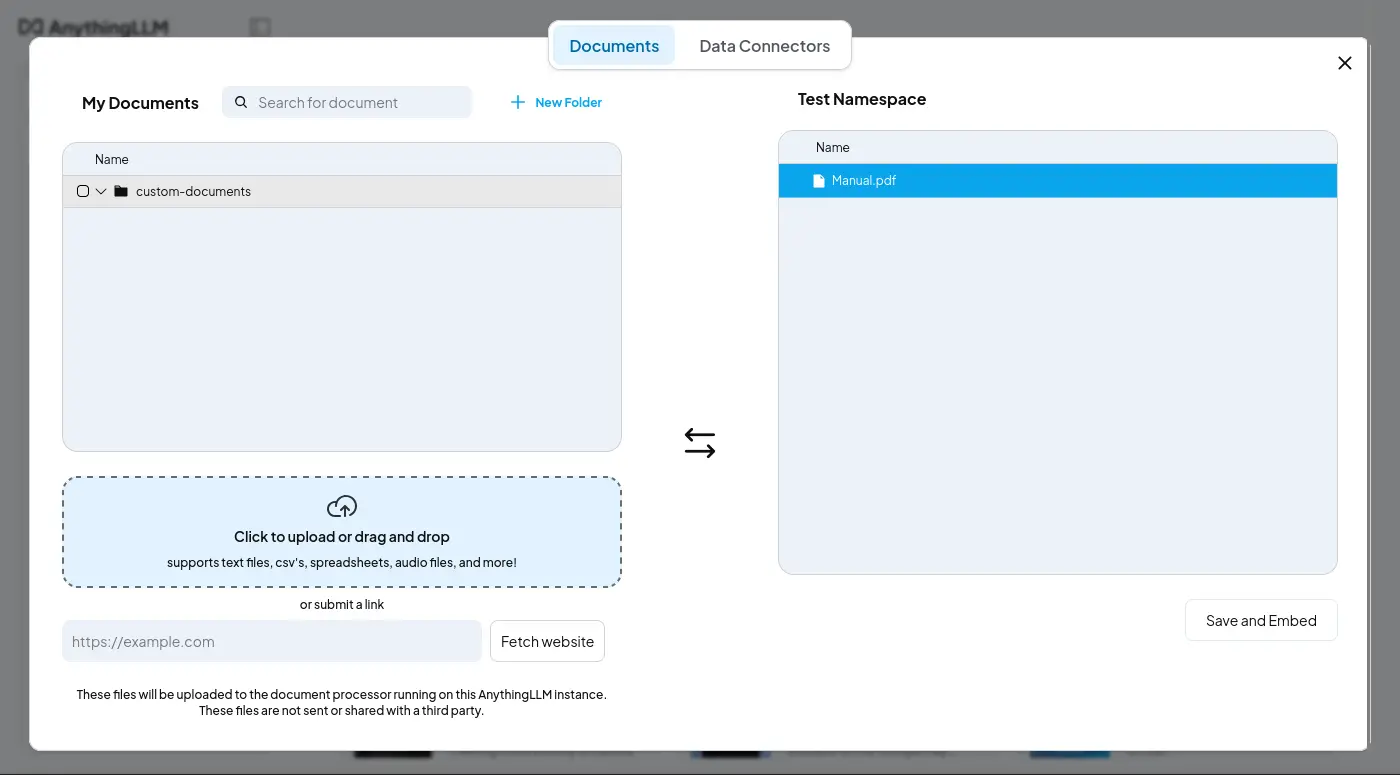
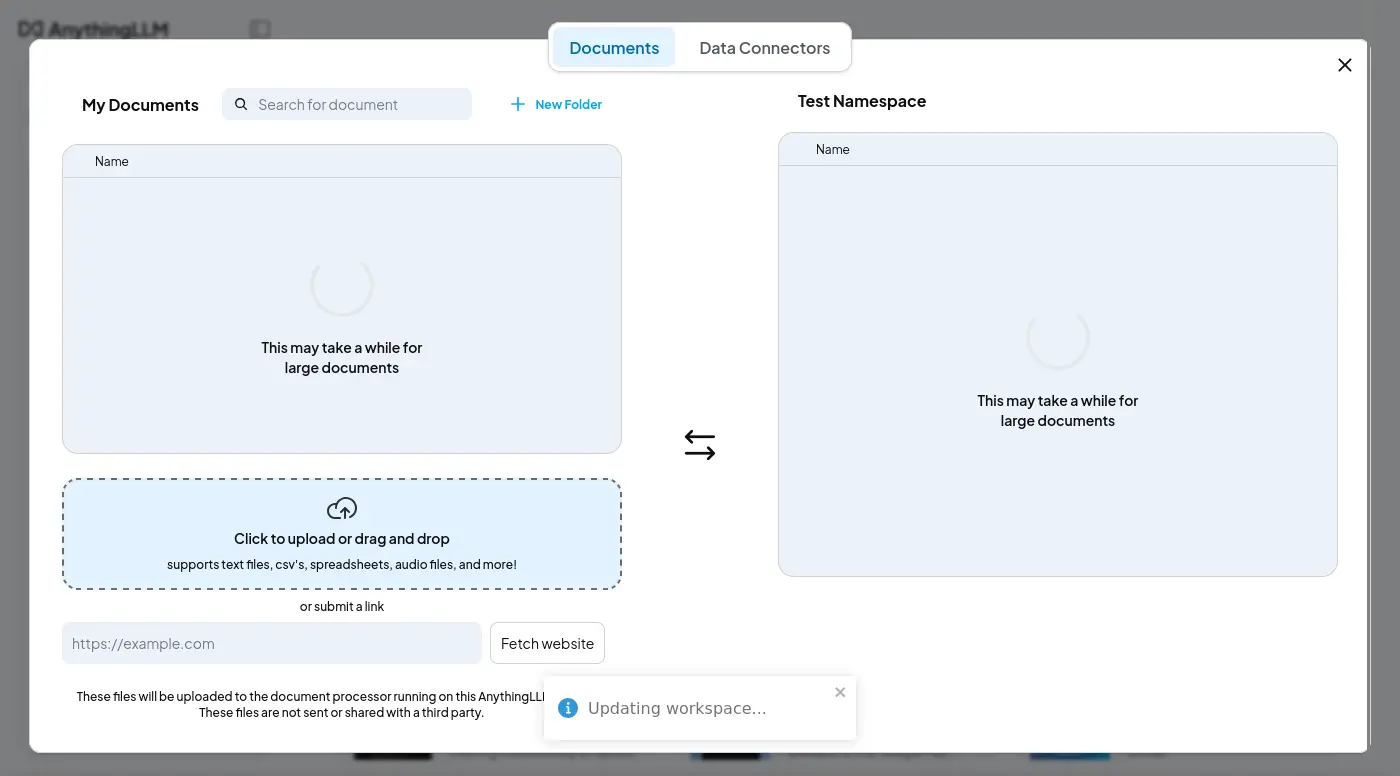
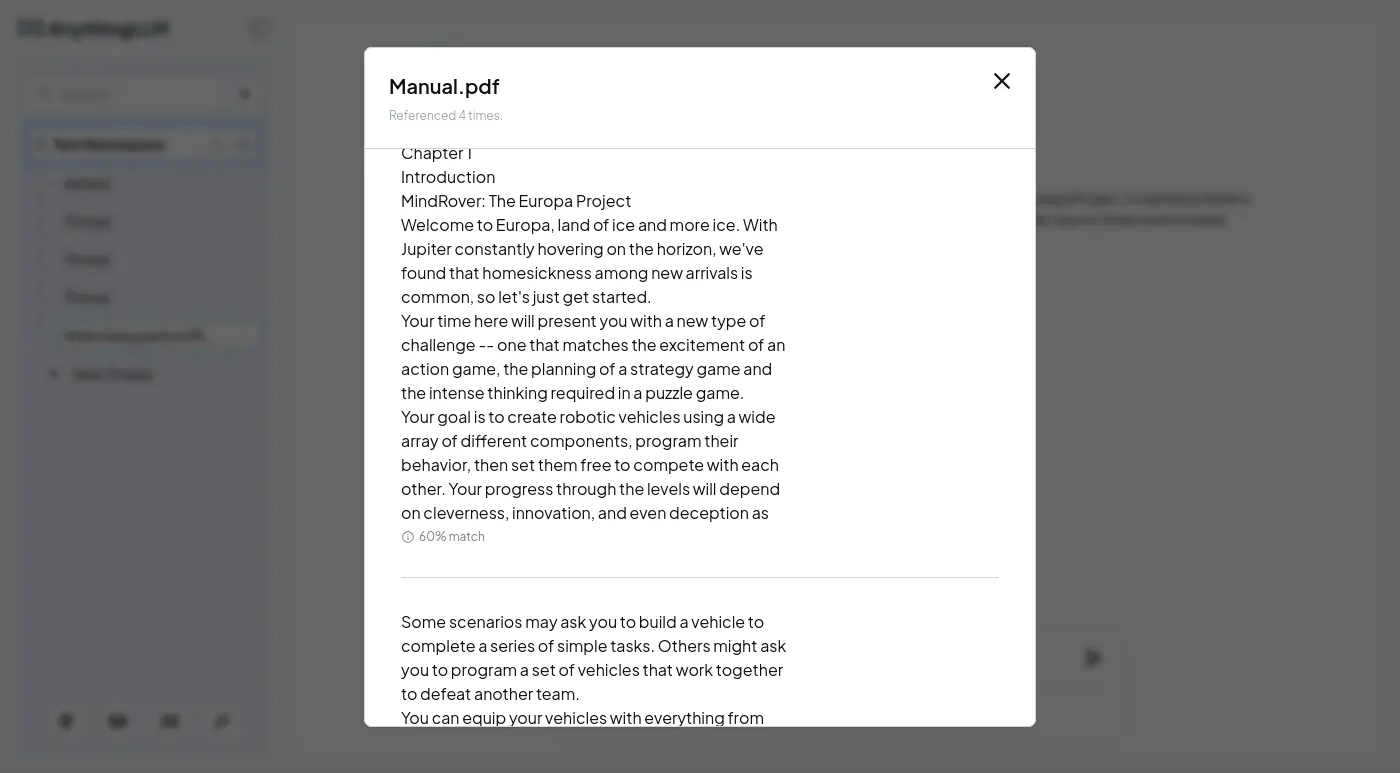
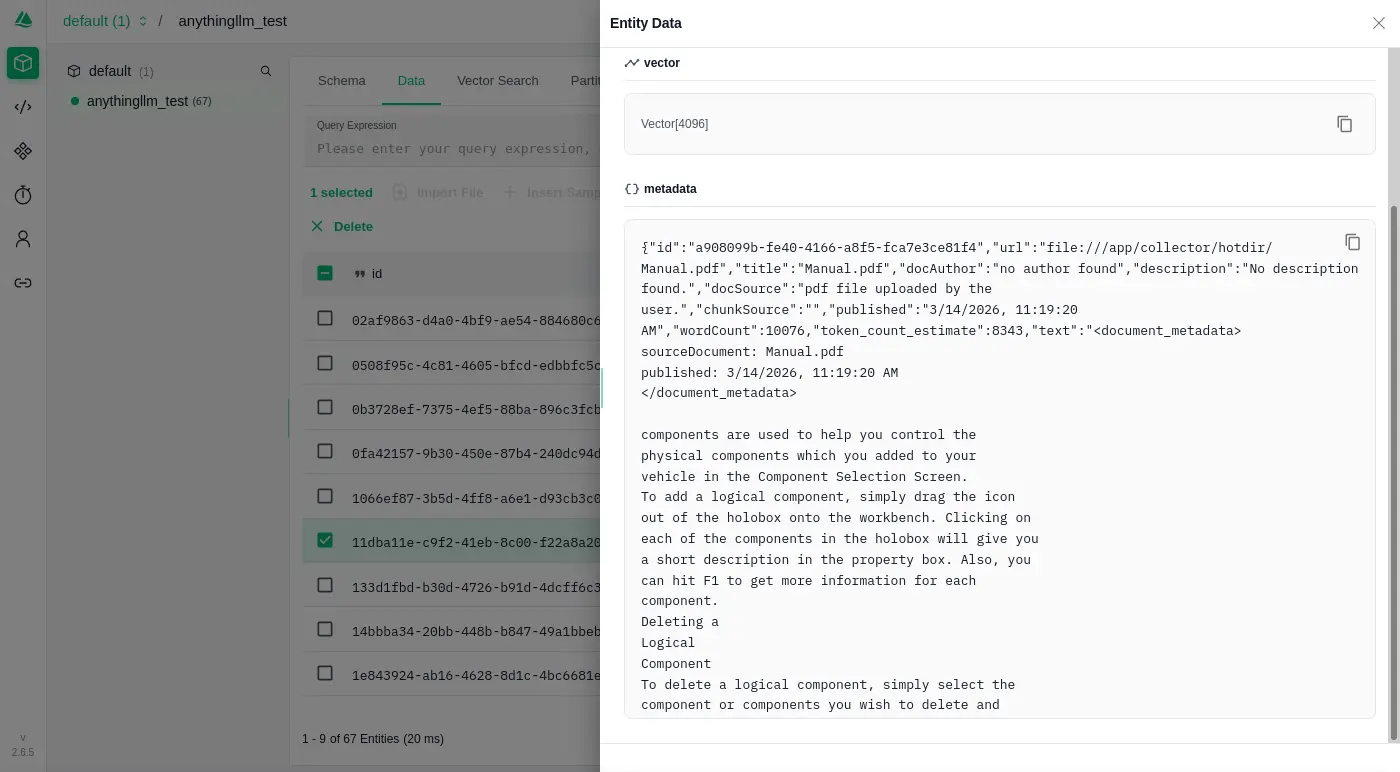
嵌入文件
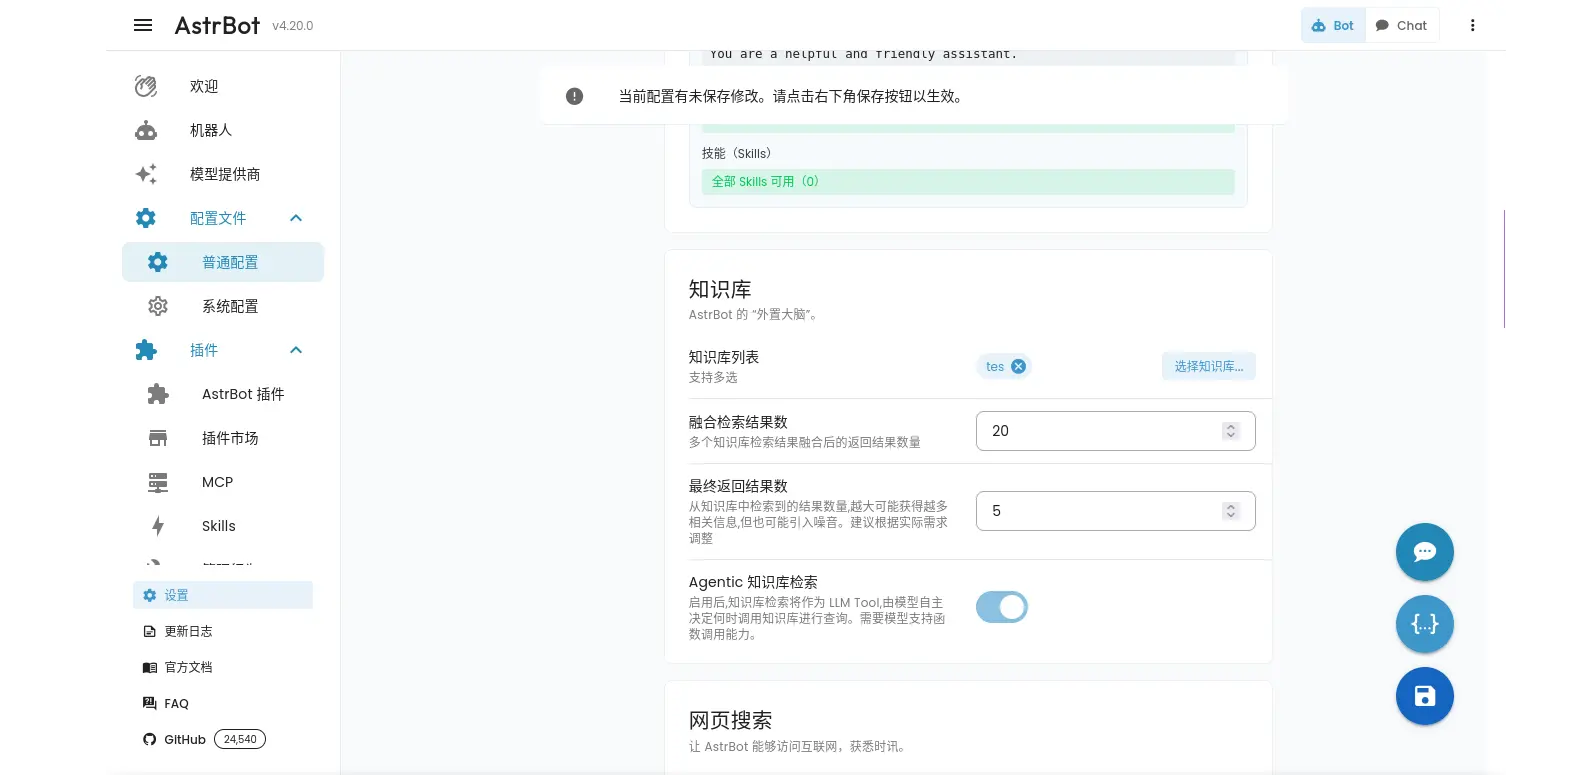
雖然 LobeHub 內建很多 AI 供應商,也支援自行設定 OpenAI API 兼容的供應商:
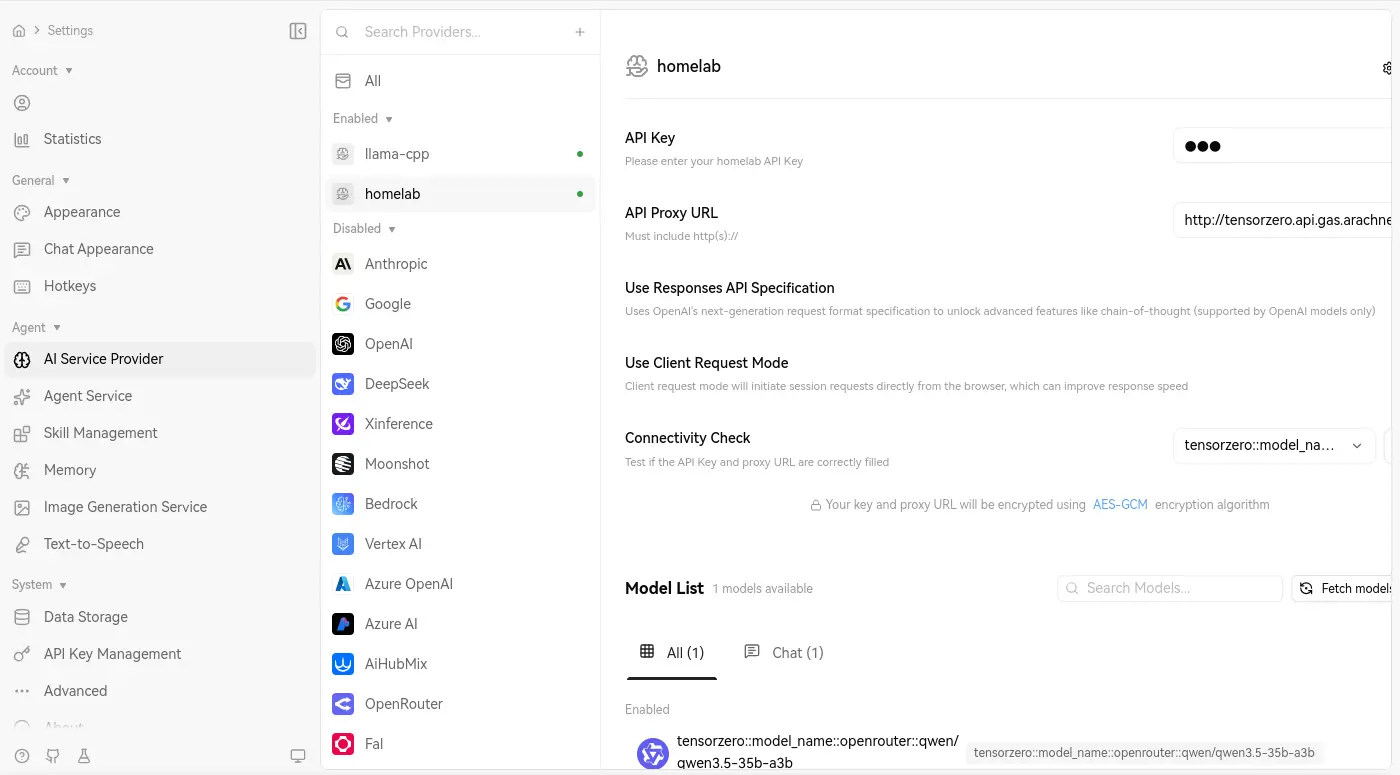
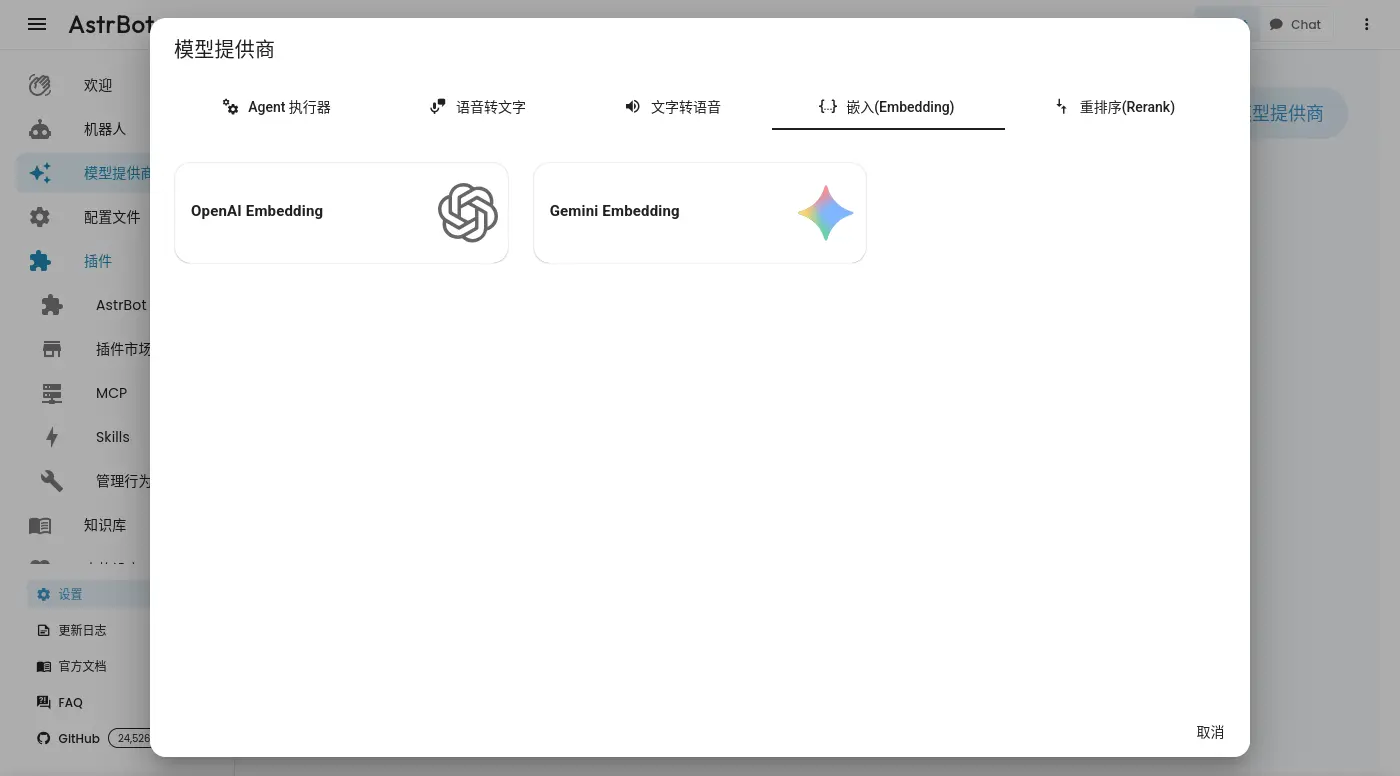
但是它的嵌入模型似乎榜定 OpenAI:
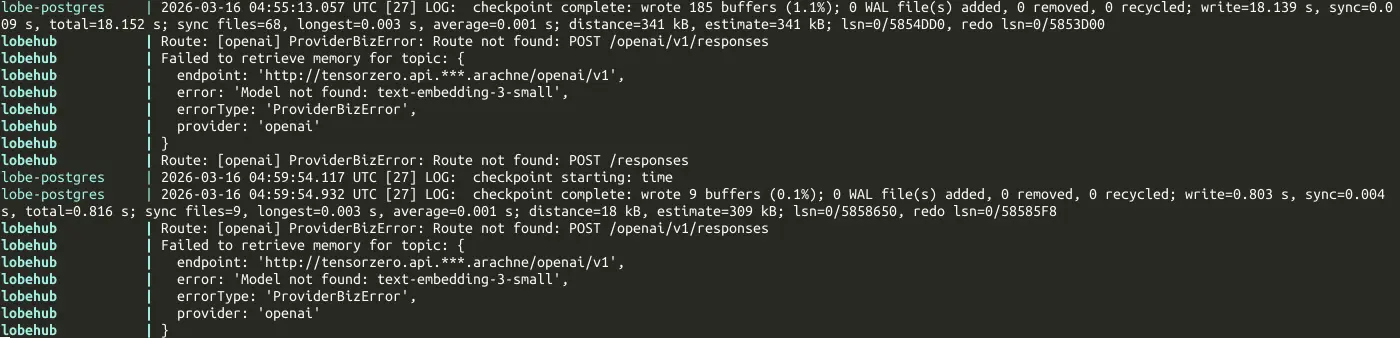
相關討論:
- Desktop Version: Unable to Configure Knowledge Base Embedding Model · lobehub/lobehub · Discussion #10698
- How to use Azure Openai Embedding Model for Knowledgebase? · lobehub/lobehub · Discussion #5037
- [Request] 自定义嵌入模型 Custom Embedding model · Issue #3785 · lobehub/lobehub
雖然可以透過代理伺服器建立別名解決,但是我�不打算為了它這樣折騰,不夠支援就是不夠支援。
編排與構成
以下 YAML 在官方文件找不到,官方文件的指引是先下載一個腳本後自動建立:
docker-compose.yaml
name: lobehub
services:
  lobe:
    image: docker.io/lobehub/lobehub:2.1.42
    container_name: lobehub
    ports:
      - '3210:3210'
    depends_on:
      postgresql:
        condition: service_healthy
      redis:
        condition: service_healthy
      rustfs:
        condition: service_healthy
      rustfs-init:
        condition: service_completed_successfully
    environment:
      - 'KEY_VAULTS_SECRET=4qaDf0c7KeHaJRCdgZztjLusEWjkIaOt'
      - 'AUTH_SECRET=4qaDf0c7KeHaJRCdgZztjLusEWjkIaOt'
      - 'DATABASE_URL=postgresql://postgres:uWNZugjBqixf8dxC@postgresql:5432/lobechat'
      - 'S3_ENDPOINT=http://rustfs:9000'
      - 'S3_BUCKET=lobe'
      - 'S3_ENABLE_PATH_STYLE=1'
      - 'S3_ACCESS_KEY=admin'
      - 'S3_ACCESS_KEY_ID=admin'
      - 'S3_SECRET_ACCESS_KEY=YOUR_RUSTFS_PASSWORD'
      - 'LLM_VISION_IMAGE_USE_BASE64=1'
      - 'S3_SET_ACL=0'
      - 'SEARXNG_URL=http://searxng:8080'
      - 'REDIS_URL=redis://redis:6379'
      - 'REDIS_PREFIX=lobechat'
      - 'REDIS_TLS=0'
      - QSTASH_TOKEN=4qaDf0c7KeHaJRCdgZztjLusEWjkIaOt
    restart: always

  postgresql:
    image: docker.io/paradedb/paradedb:latest-pg17
    container_name: lobe-postgres
    ports:
      - '5432:5432'
    volumes:
      - 'lobe-db:/var/lib/postgresql/data'
    environment:
      - 'POSTGRES_DB=lobechat'
      - 'POSTGRES_PASSWORD=uWNZugjBqixf8dxC'
    healthcheck:
      test: ['CMD-SHELL', 'pg_isready -U postgres']
      interval: 5s
      timeout: 5s
      retries: 5
    restart: always

  redis:
    image: docker.io/library/redis:7-alpine
    container_name: lobe-redis
    command: redis-server --save 60 1000 --appendonly yes
    volumes:
      - 'redis_data:/data'
    healthcheck:
      test: ['CMD', 'redis-cli', 'ping']
      interval: 5s
      timeout: 3s
      retries: 5
    restart: always

  rustfs:
    image: docker.io/rustfs/rustfs:1.0.0-alpha.85
    container_name: lobe-rustfs
    ports:
      - '9000:9000'
      - '9001:9001'
    environment:
      - RUSTFS_CONSOLE_ENABLE=true
      - RUSTFS_ACCESS_KEY=admin
      - RUSTFS_SECRET_KEY=YOUR_RUSTFS_PASSWORD
    volumes:
      - 'rustfs-data:/data'
    healthcheck:
      test: ['CMD-SHELL', 'wget -qO- http://localhost:9000/health >/dev/null 2>&1 || exit 1']
      interval: 5s
      timeout: 3s
      retries: 30
    command:
      ['--access-key', 'admin', '--secret-key', 'YOUR_RUSTFS_PASSWORD', '/data']

  rustfs-init:
    image: docker.io/minio/mc:RELEASE.2025-08-13T08-35-41Z
    container_name: lobe-rustfs-init
    depends_on:
      rustfs:
        condition: service_healthy
    volumes:
      - ./bucket.config.json:/bucket.config.json:ro
    entrypoint: /bin/sh
    command: -c ' set -eux; echo "S3_ACCESS_KEY=admin, S3_SECRET_KEY=YOUR_RUSTFS_PASSWORD"; mc --version; mc alias set rustfs "http://rustfs:9000" "admin" "YOUR_RUSTFS_PASSWORD"; mc ls rustfs || true; mc mb "rustfs/lobe" --ignore-existing; mc admin info rustfs || true; mc anonymous set-json "/bucket.config.json" "rustfs/lobe"; '
    restart: 'no'


  searxng:
    image: docker.io/searxng/searxng:2026.3.13-3c1f68c59
    container_name: lobe-searxng
    volumes:
      - './searxng-settings.yml:/etc/searxng/settings.yml'
    environment:
      - 'SEARXNG_SETTINGS_FILE=/etc/searxng/settings.yml'
    restart: always

volumes:
  redis_data:
  rustfs-data:
  lobe-db:
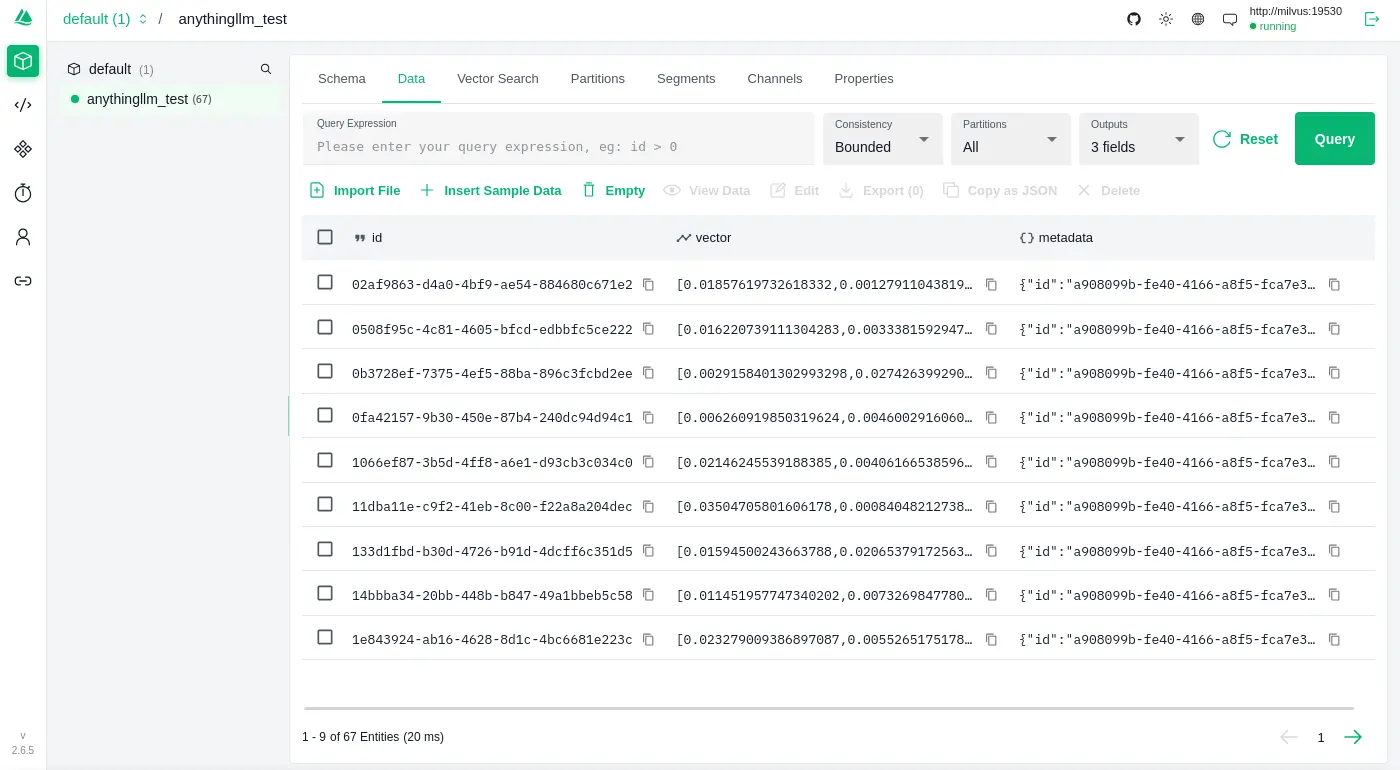
它似乎是使用 paradedb 作為向量資料庫,並且非常趕流行的使用 RustFS 作為 S3 實例。
info
「經典」的微服務 S3 實例是 MinIO,不過它前一陣子停止開源維護了,不過個人不是很建議使用 RustFS,因為它建立在 Vibe Coding 之上顯得有些不穩定。
實作程序關閉
是否有實作 Graceful Shutdown? 否。
lobehub exited with code 137