
背景
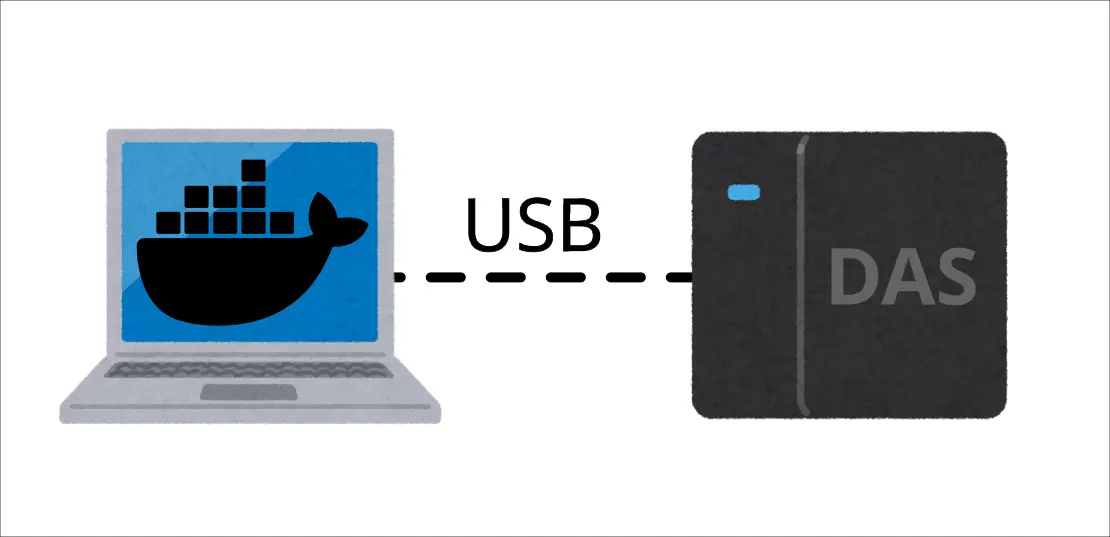
我的 Homelab 是透過筆電和 USB 外接 DAS (Direct Attached Storage) 建構的,並且採過一些小坑。最近在建置新的節點時,發現我把相關的資訊分散在不同的筆記和 IaC (Infrastructure as Code) 裡面,於是想說趁這個機會整理一下資訊。
電池充電上限
Framework 的話可以在 BIOS 設定充電上限:
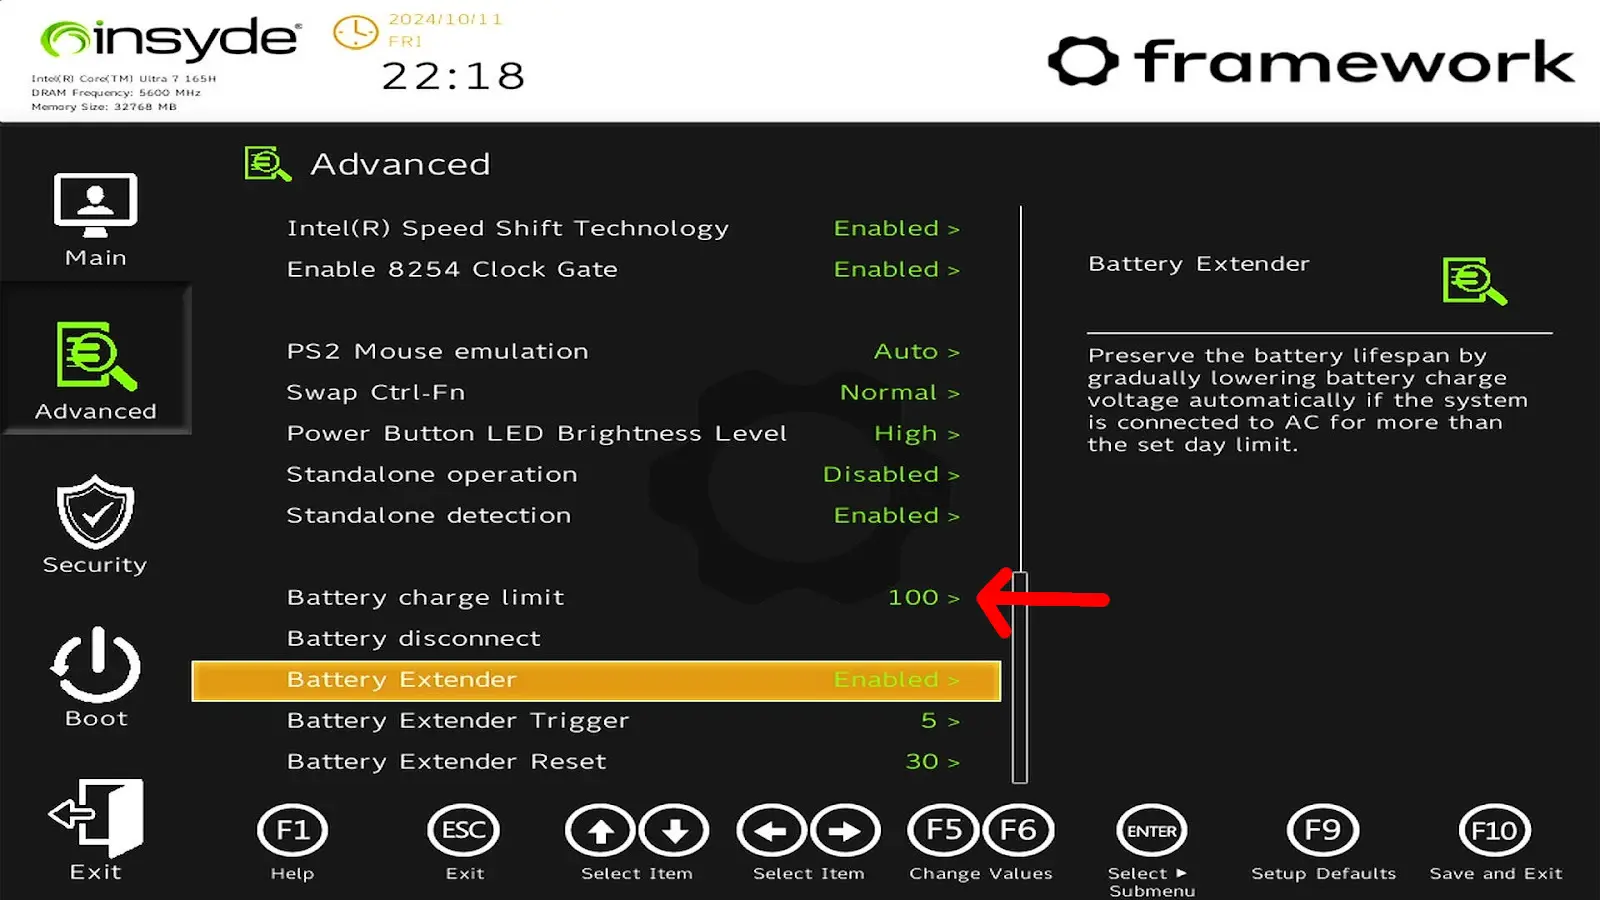
(從 Framework 的論壇借用螢幕截圖)
另外一台 Lenovo 的筆電則是靠這個設定:
https://github.com/makifdb/lenopow
我會把把充電上限設在 80% 避免筆電作為伺服器長時間插著充電造成電池膨脹。
筆電螢幕問題
讓筆電不會因為螢幕蓋上而進入休眠模式,編輯 /etc/systemd/logind.conf:
HandleLidSwitch=ignore
執行指令重啟服務:
systemctl restart systemd-logind.service
但是上述設定會造成另外一個問題:螢幕蓋著還是繼續發光,於是還需要一個步驟,編輯 /etc/default/grub:
在 GRUB_CMDLINE_LINUX_DEFAULT 插入 consoleblank=60。
這會讓螢幕在 60 秒後熄滅。
完整 Ansible Playbook
- name: Setup laptop
  hosts:
    - arachne-node-beta
  tasks:
    - name: check if consoleblank is configured in the boot command
      ansible.builtin.lineinfile:
        backup: true
        path: /etc/default/grub
        regexp: '^GRUB_CMDLINE_LINUX_DEFAULT=".*consoleblank=60'
        state: absent
      check_mode: true
      register: grub_cmdline_check
      changed_when: false
    - name: insert consoleblank if missing
      ansible.builtin.lineinfile:
        backrefs: true
        path: /etc/default/grub
        regexp: '^(GRUB_CMDLINE_LINUX_DEFAULT=".*)"$'
        line: '\1 consoleblank=60"'
      when: grub_cmdline_check.found == 0
      notify: update grub
    - name: Set HandleLidSwitch
      ansible.builtin.lineinfile:
        backrefs: true
        path: /etc/systemd/logind.conf
        regexp: "#?(HandleLidSwitch=)(?:.*)$"
        line: '\1ignore'
      notify: Restart logind
  handlers:
    - name: update grub
      ansible.builtin.command: update-grub
    - name: Restart logind
      ansible.builtin.systemd_service:
        name: systemd-logind
        state: restarted
DAS 掛載
當服務透過 Docker 跑在容器內,持久化資料卻儲存在透過 USB 連線的外部儲存中,這個仰賴關係需要額外處理。
自動化載
編輯 /etc/fstab 加入以下內容:
# DAS
UUID=7f858b7e-f942-45b3-92dd-8c99b497b6a4 /mnt/das-storage ext4 defaults,nofail,x-systemd.automount 0 2
修改後執行:
systemctl daemon-reload
UUID 可以透過 lsblk -f 之類的指令獲得。
設定仰賴
新增檔案 /etc/systemd/system/docker.service.d/override.conf:
[Unit]
After=mnt-das\\x2dstorage.automount
ConditionPathExists=/mnt/das-storage
systemctl restart docker.service
確保 Docker Daemon 在 DAS 掛載後才運行。
DAS SMART 檢查
因為電腦沒有直接和硬碟建立連線而是隔著一層 DAS,因此不能使用普通的 smartctl 指令確認,而必須使用額外的參數1:
smartctl -a -d jmb39x-q,0 /dev/sdd
smartctl -a --device jmb39x-q,1 /dev/sdd
smartctl -a -d jmb39x-q,2 /dev/sdd
smartctl -a --device jmb39x-q,3 /dev/sdd
Footnotes
-
QNAP External RAID Manager - Export SMART Data - QNAP NAS Community Forum. Retrieved 2026-01-03, from https://forum.qnap.com/viewtopic.php?p=873575&sid=573c6149a1276e4ab8d9f4785f1c6029#p873575 ↩